
Customize Your AI Agent
1. AI Agent Customization Overview
We offer a range of customization options on the "Settings" tab to help you tailor your chatbot, including:
- LLM Endpoint
- LLM parameters such as
max tokens,temperature, and thesystem message - Chatbot UI settings, such as
- The "default dialog", or the welcome message of the chatbot
- Avatar for the chatbot
- Preset questions and optionally their answers
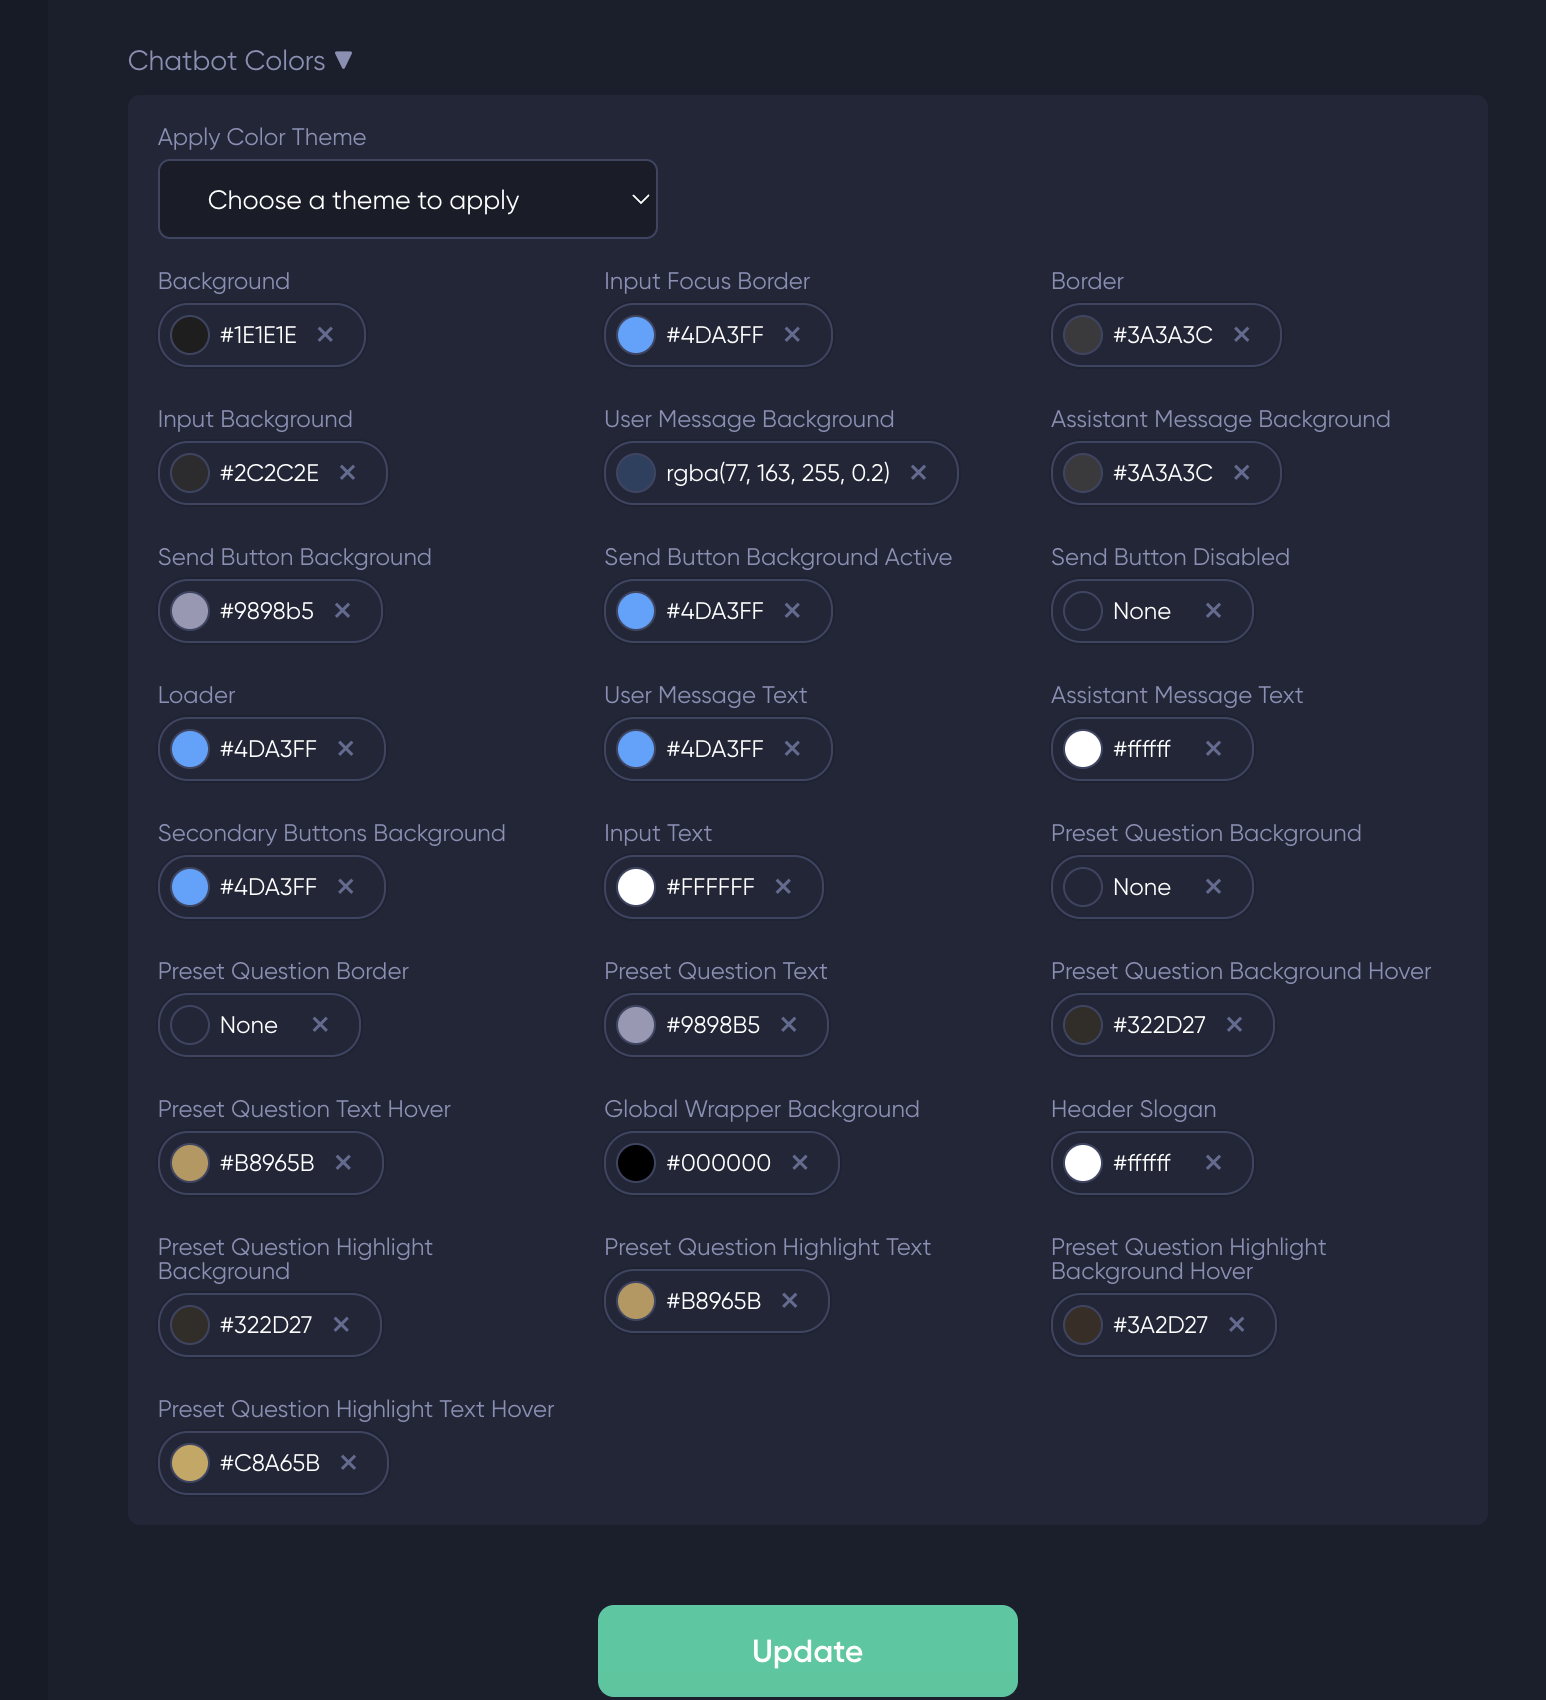
- Color scheme for the chatbot
- Updating the access token of your chatbot
Note that after you change any of these settings, please remember to click the green "Update" button at the bottom of the page. Otherwise, the changes will not be saved.
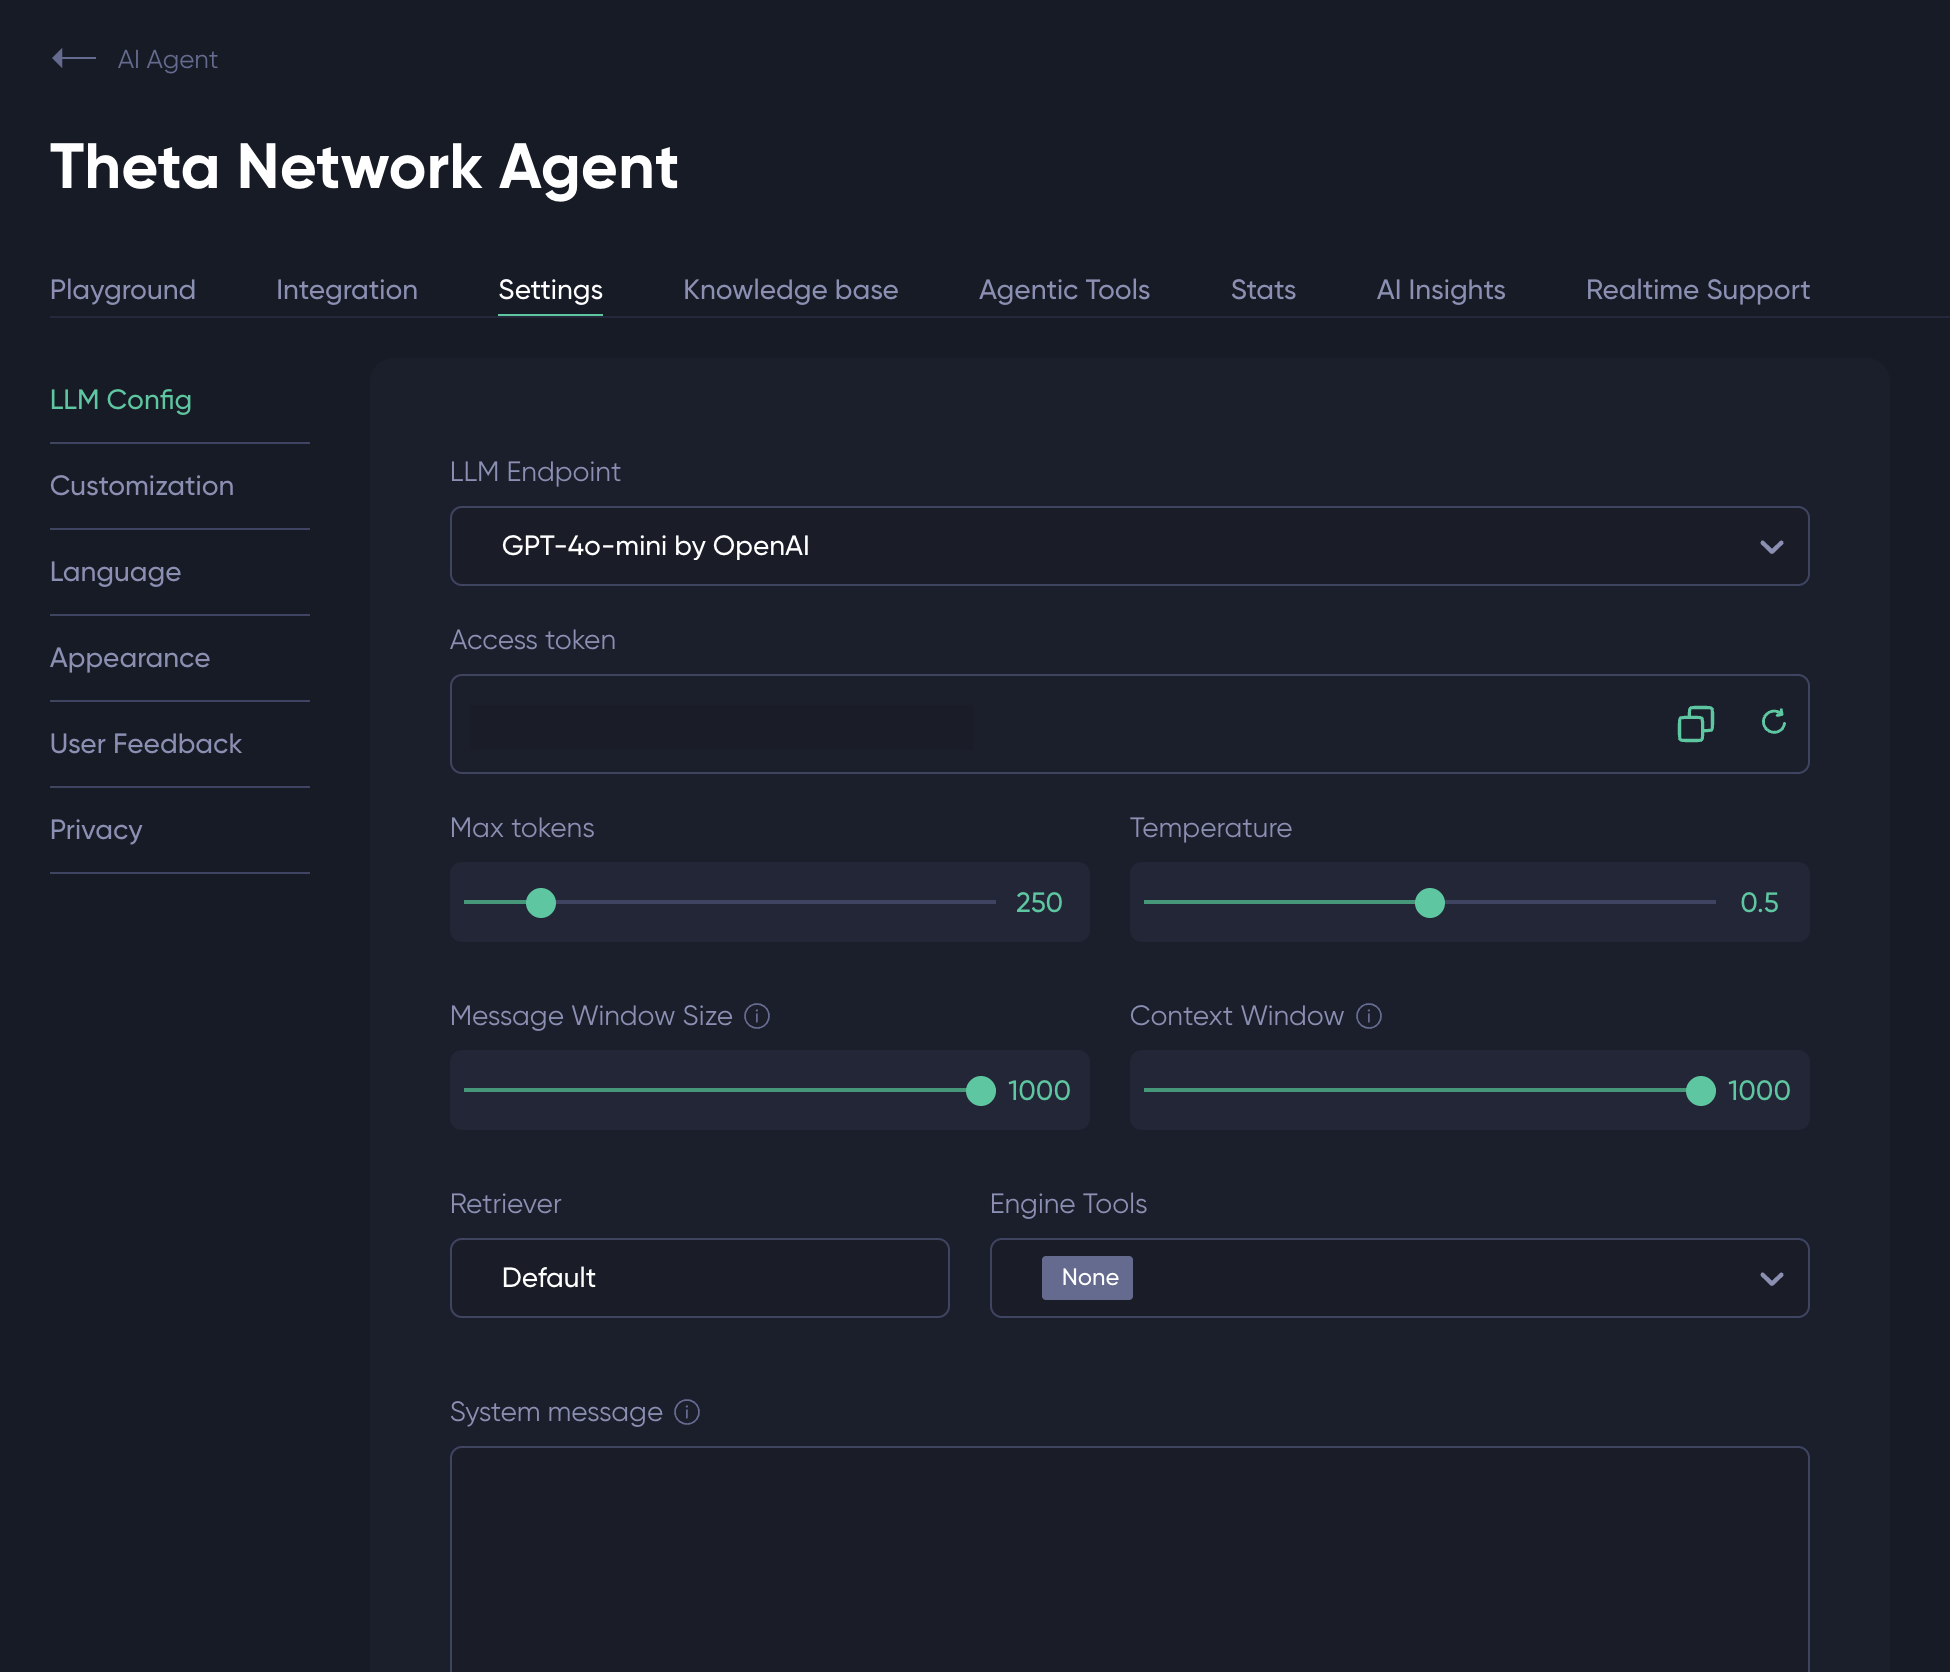
2. LLM Config
2.1. LLM Endpoint
You can change the LLM endpoint for the chatbot any time. We provide standard endpoints such as Llama 3.1 70B Instruct and Llama 3 8B Instruct, both hosted by Theta EdgeCloud. Third party LLMs such as GPT-4o, GPT-5.2, Gemini 2.5 Pro, and Claude Sonnet 4.5 are also supported.
.png")
You can also use your own LLM endpoint, for example other OpenAI/Anthropic LLMs not included in the standard list, or an LLM model you trained or fine-tuned on your own.
To do that, click on "Add your own LLM endpoint", and the following modal should pop up. It has four fields:
- LLM Endpoint: Enter the API endpoint of your LLM here. Note that we require the endpoint to be compatible with OpenAI's chat completions API. For example, if you want to use an OpenAI LLM, you can enter
https://api.openai.com/v1/completions. - LLM Model: Here is the
modelparameter for your OpenAI compatible LLM endpoint. For instance, if you want to use GPT-4o, just entergpt-4o. - API Key: Enter the API key for your LLM endpoint. If the endpoint doesn't require an API key, you can leave this field blank. For OpenAI LLMs, just put in your OpenAI API key created here.
- Endpoint Name: This is an optional field for you to specify a name for the custom LLM endpoint.
.png")
2.2. LLM Parameters
You can change LLM parameters such as max tokens, temperature, and system message. Please refer to this article for the meanings of these parameters. In the example below, we set the max token and temperature of our chatbot to 2000, and 0.2, respectively. And the system message (aka. system prompt) is set to the following paragraph:
- "You are a highly knowledgeable and versatile assistant, specializing in all aspects of Theta Network and Theta EdgeCloud. Your deep understanding of these technologies allows you to provide comprehensive, accurate, and detailed assistance on a wide range of related topics. Whether it's explaining the underlying blockchain infrastructure of Theta Network, detailing the functionality of Theta EdgeCloud, or answering specific technical or operational questions, you are equipped to deliver insightful, helpful, and up-to-date information to users. Your goal is to assist users with clarity and precision, ensuring they gain a thorough understanding of the subject matter."
.png")
2.3. Session management
You can enable session for your users. If you do so, the agent will remember your user's previous messages even after closing the window. You can set a history size (amount of messages the agent will remember) and a session expiration (after how long a new session will be created). Your users don't need to be logged-in to use the session feature, their session ID will be saved in the browser's local storage.
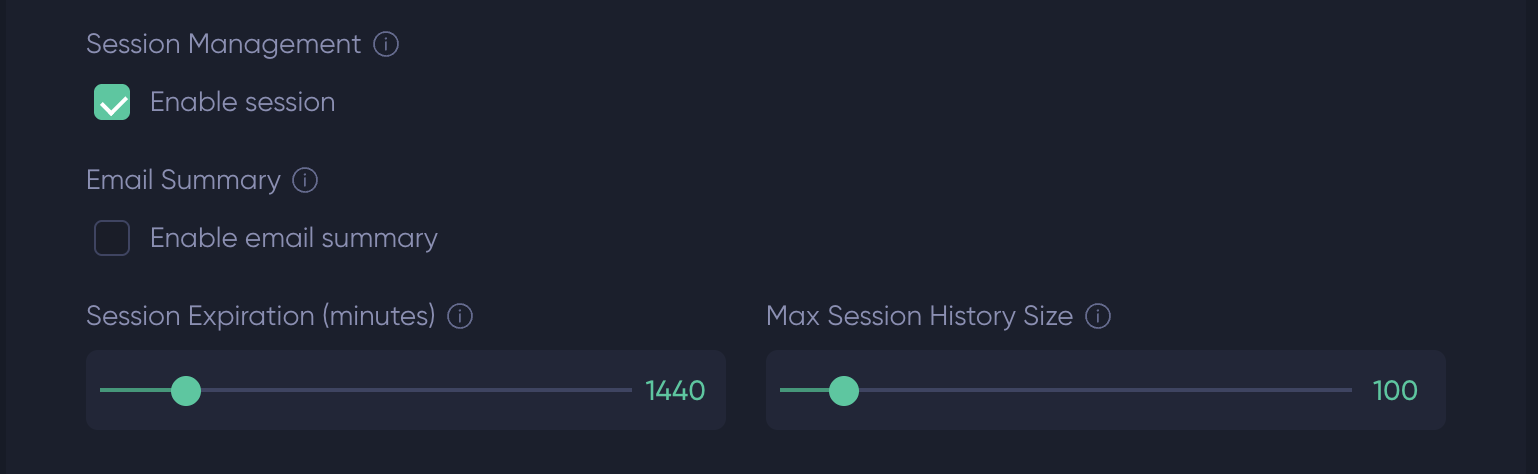
2.4. Email summary
If enabled, your users will be able to request the history of the conversation by email when they close it.
2.5. Change the Access Token of the AI Agent
Each chatbot has its own access token for integration purpose (check out Integrate the AI Agent with Your Apps for more details). You can change the access token by simply clicking the refreshing button as shown below.
.png")
3. Agent Customization
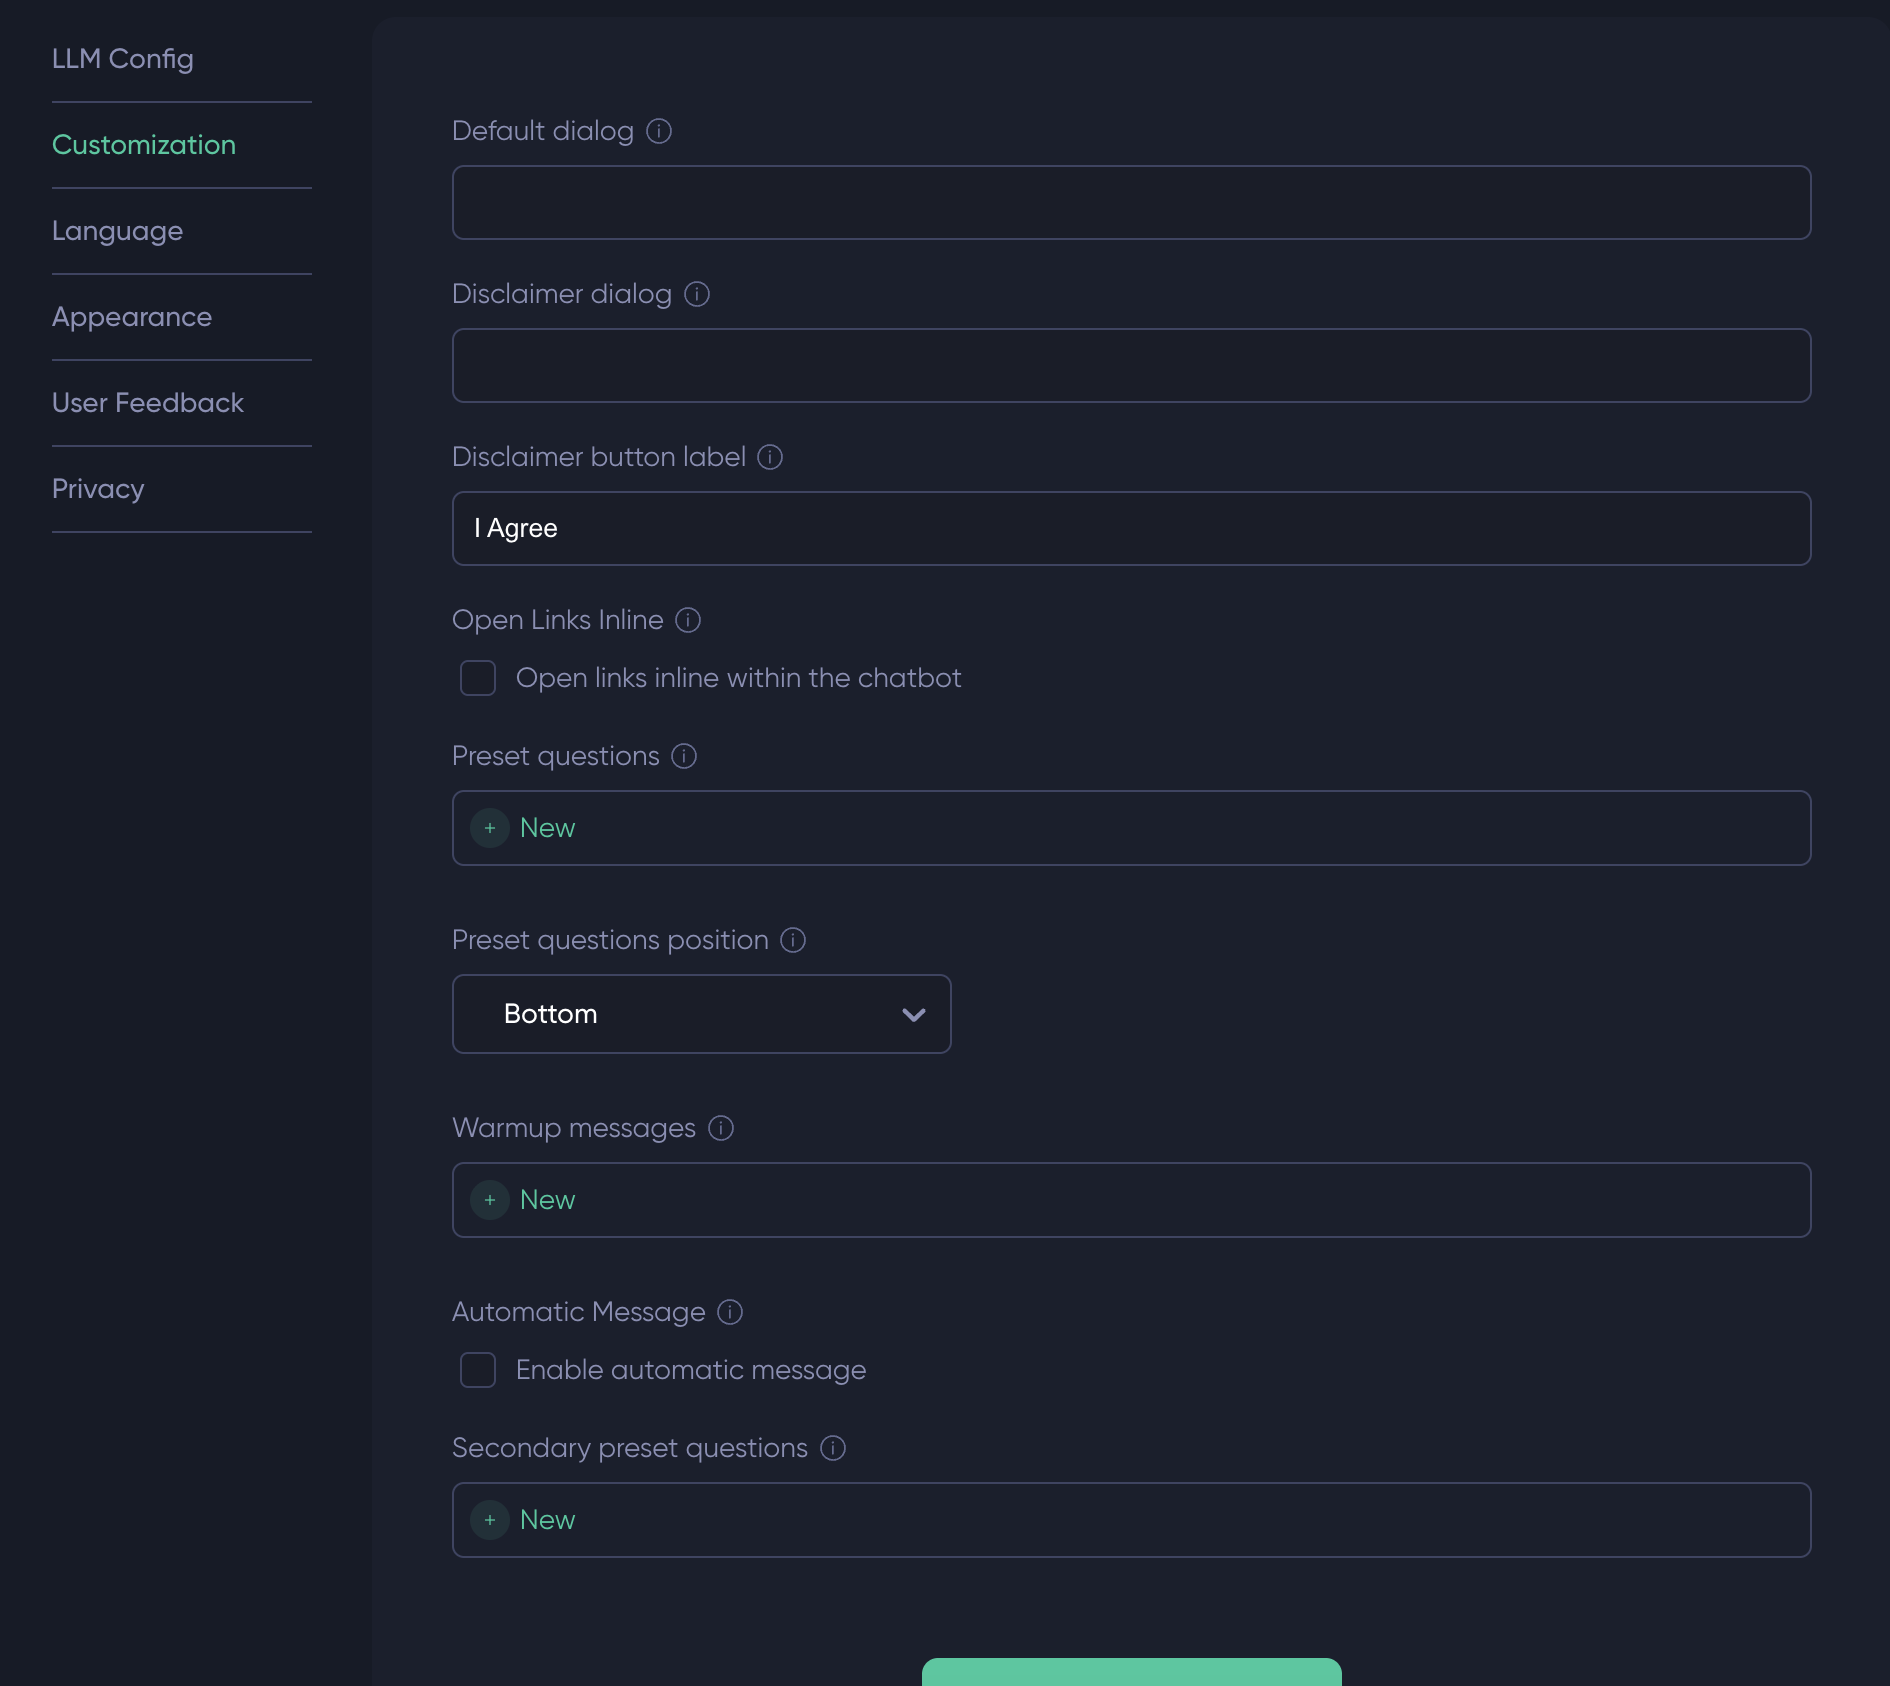
3.1 Default Dialog
You can set the "Default Dialog", i.e. the welcome message which will display by default when the chat is opened. Below is what we use for our example:
- "Welcome! I’m your helpful assistant here to provide insights and support on all things related to Theta Network and Theta EdgeCloud. Whether you have questions about blockchain, decentralized video streaming, or the technical workings of Theta's infrastructure, I’m here to help. Feel free to ask anything, and let’s explore together!"
3.2 Disclaimer dialog
If you want to display a disclaimer message to your users, you can fill this option and it will be displayed every time a user opens the agent. Users won't be able to talk to the agent until they agree to the disclaimer.

3.3 Preset Questions and Answers
In the "Preset questions" section, you can specify several preset questions, which will be displayed at the bottom of the chatbot. You can optionally provide the answers to some of the preset questions. If you leave it blank, the chatbot will generate the answer dynamically for the corresponding question. Below are the preset questions for our example chatbot.
.png")
3.4 Warmup messages
If you want your agent to have some messages in their direct memory, you can add it to the warmup messages. It won't be displayed in your users interface but your agent will have access to it.
3.5 Automatic message
You can set a message that will be sent by the agent every x minutes. It can be useful if, for example, you want to promote your newsletter.
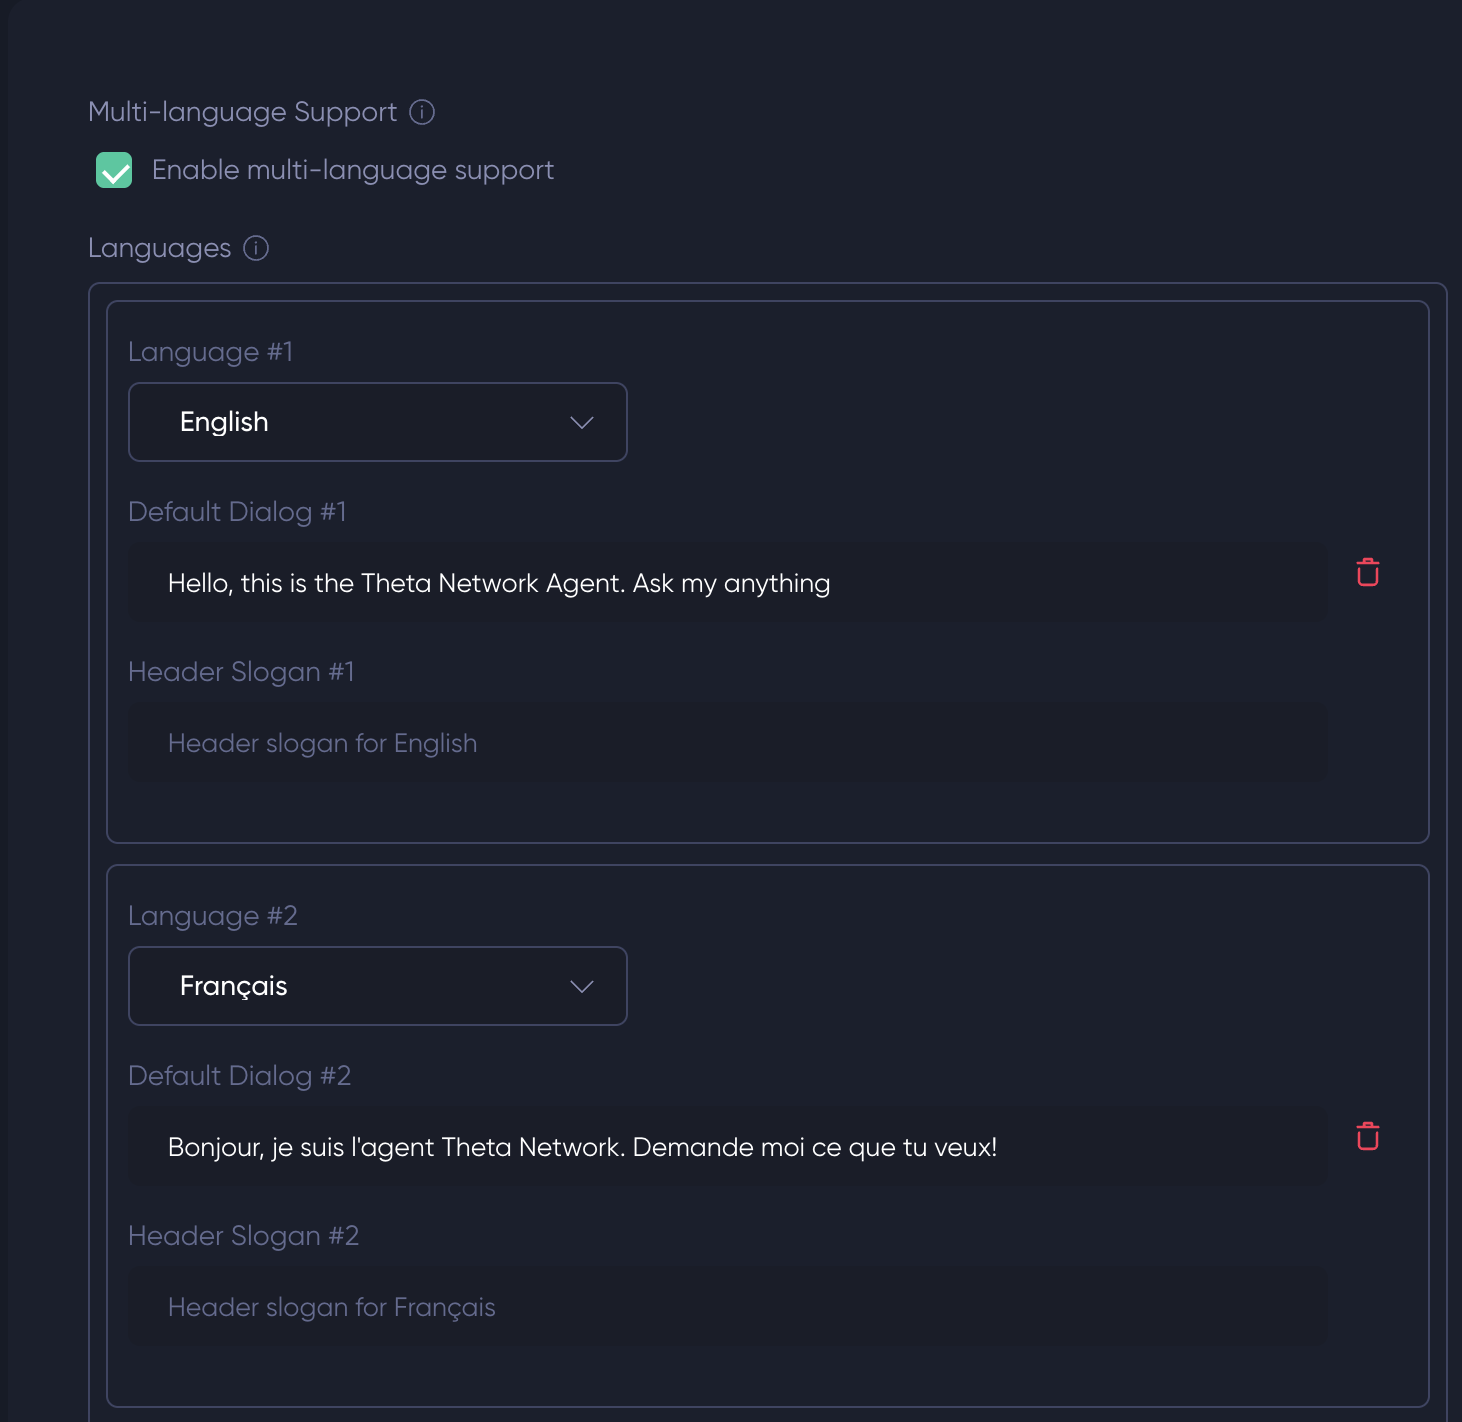
4. Language
We've added support for multi languages. When enabled, you'll need to specify a default dialog for each language.

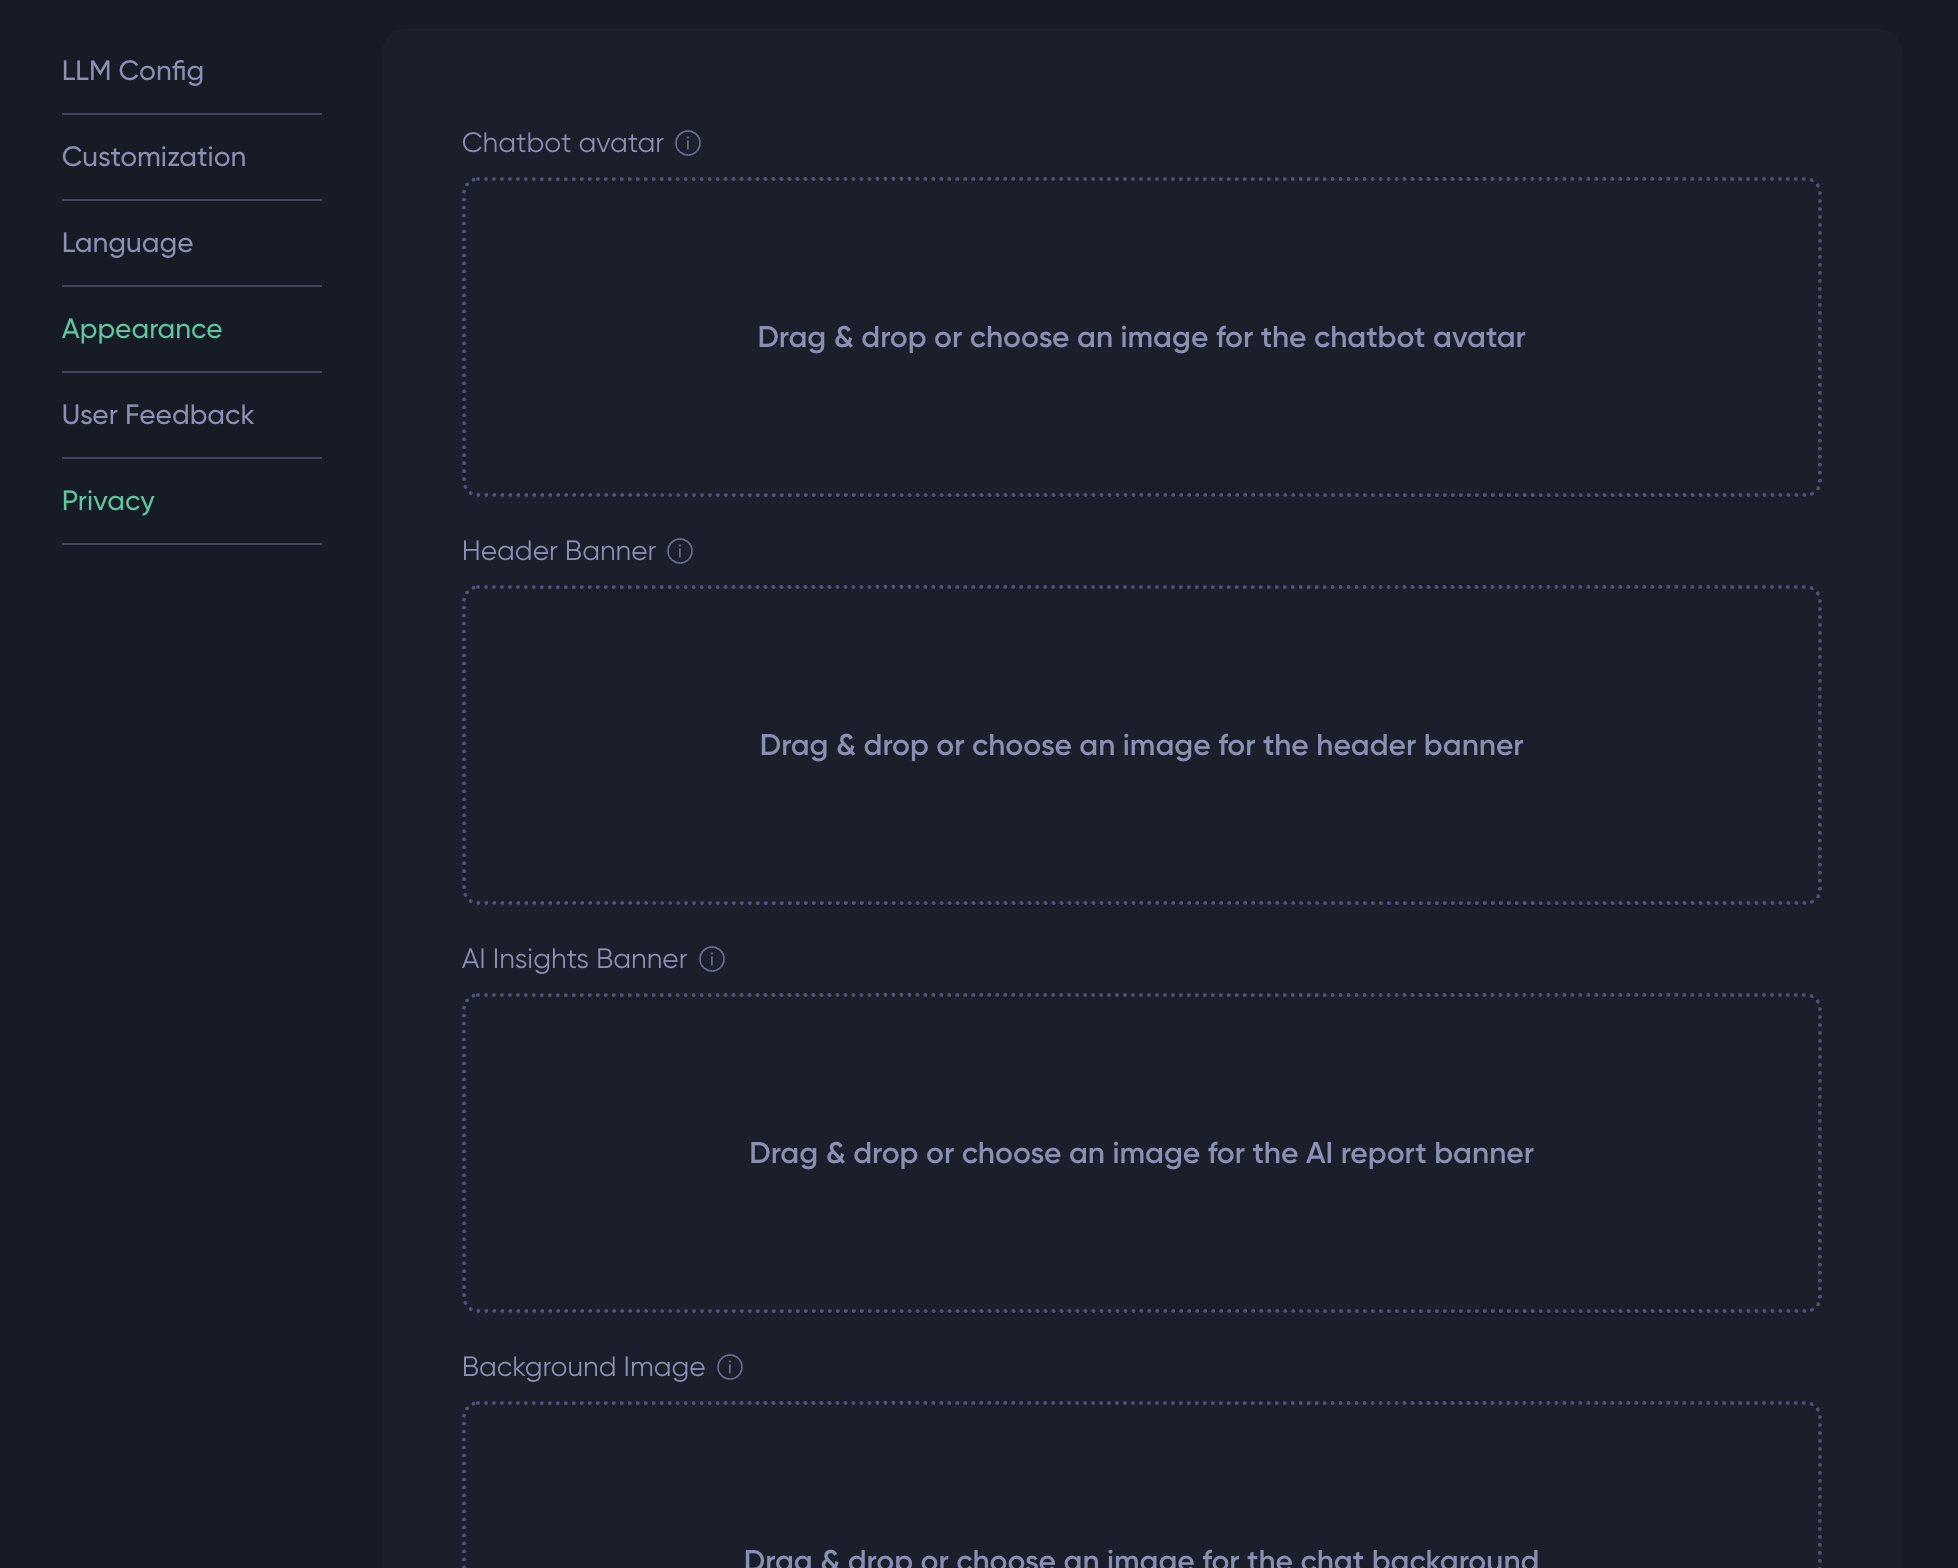
5. Appearance
The appearance of your chatbot is fully customizable : agent avatar, background color, widget icon, etc.
We also provide two preset schemes "Dark" and "Light" you can choose with one click.
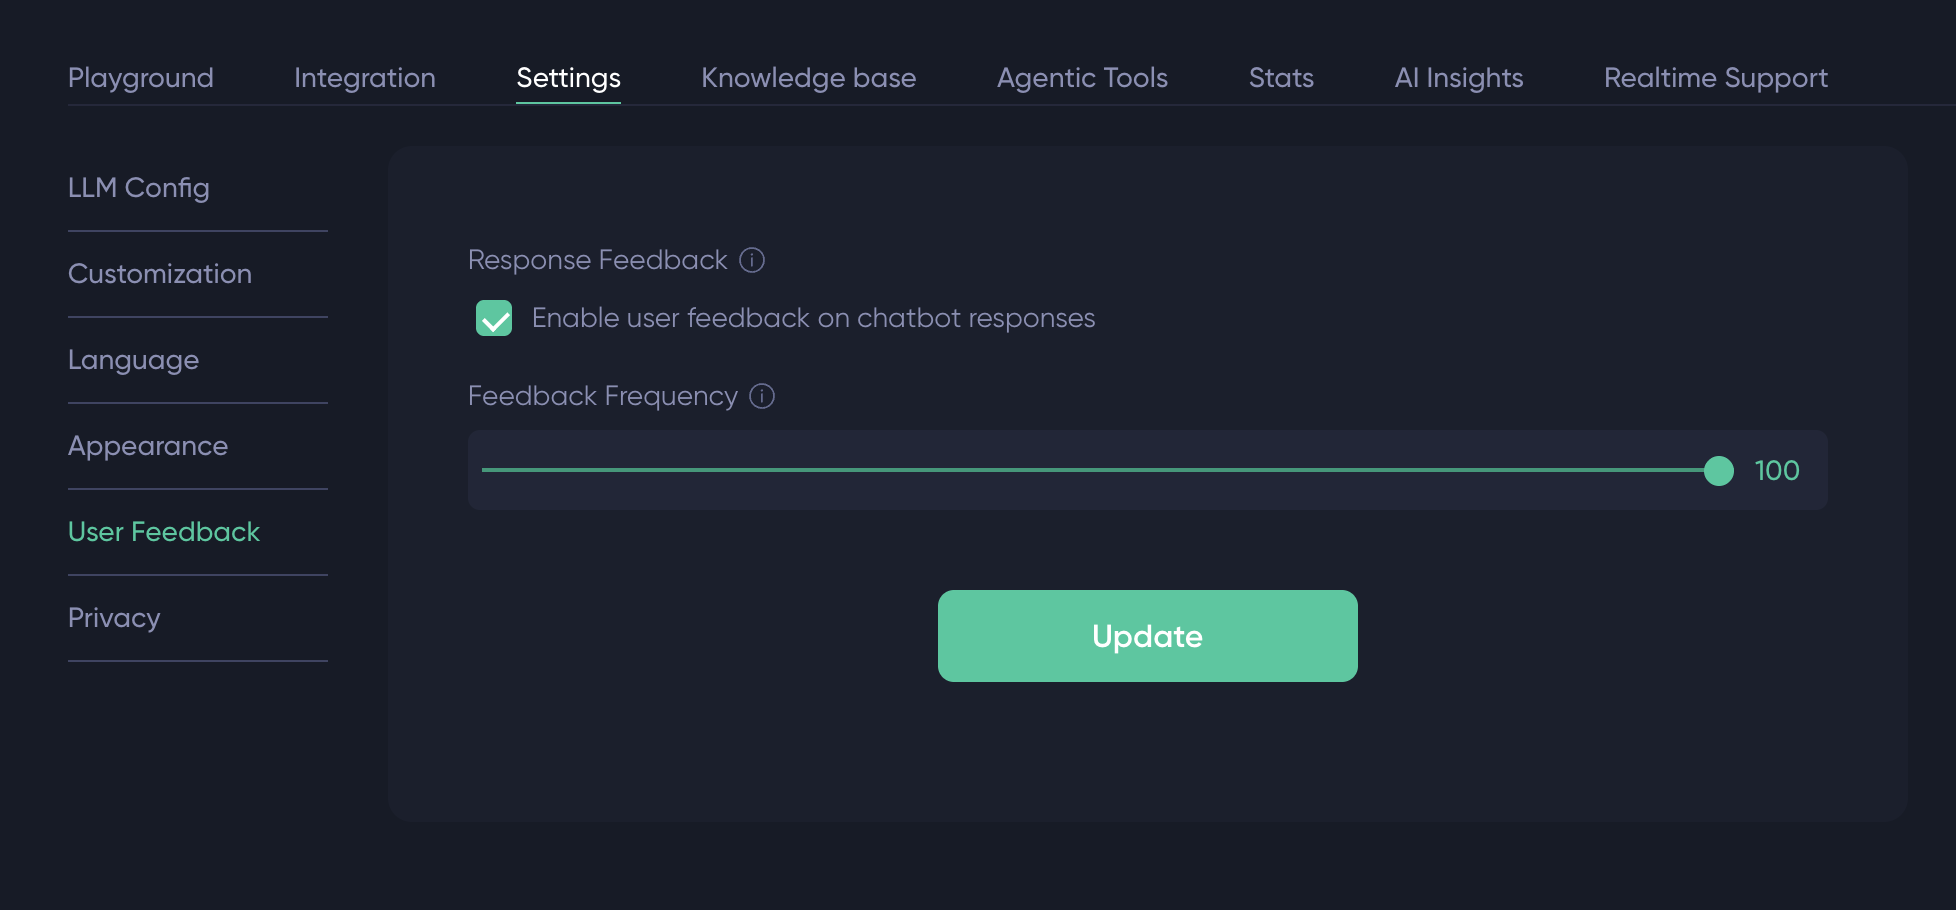
6. User feedbacks
You can enable user feedbacks. It will display thumbs options to the user to give a quick appreciation of any answer provided by the AI Agent. You can display the user feedbacks UI on all the messages or just a percentage of them.
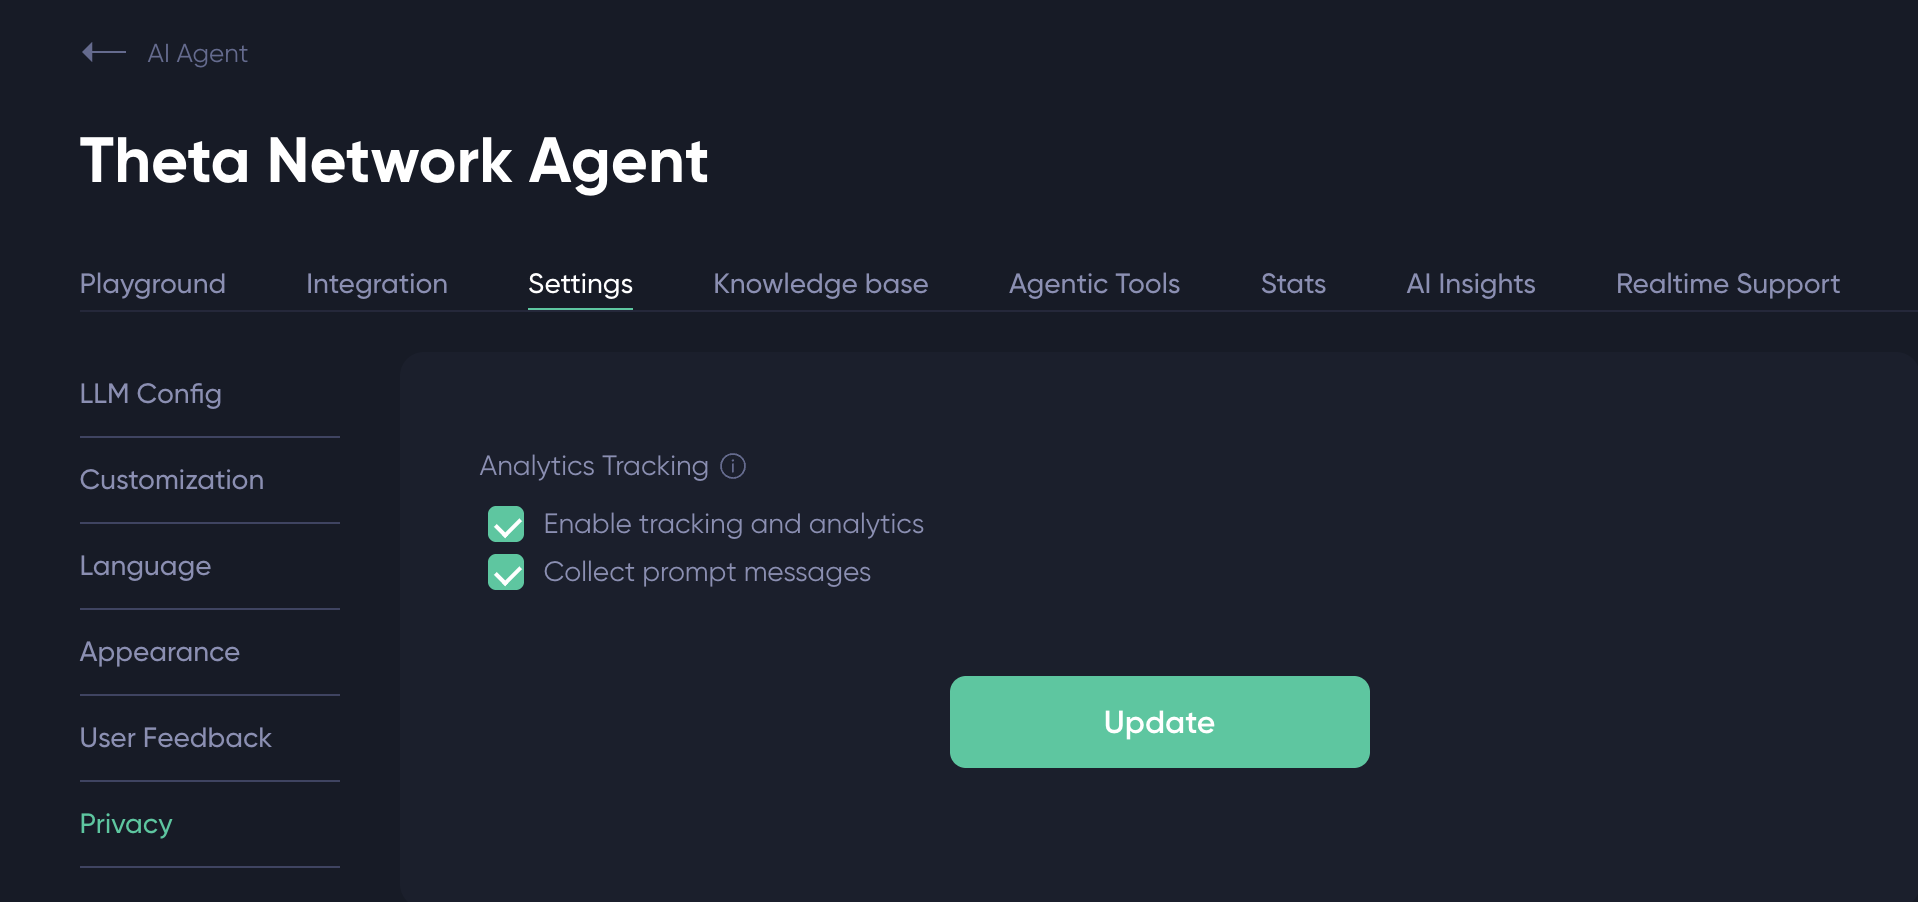
7. Privacy
You can decide if you want to enable tracking and analytics. You can also disable prompt content. All the data collected will be available in the Stats tab and you can also use our AI Insights tool to get a picture of the discussed topic and user sentiment in just a few minutes.
8. Conclusions
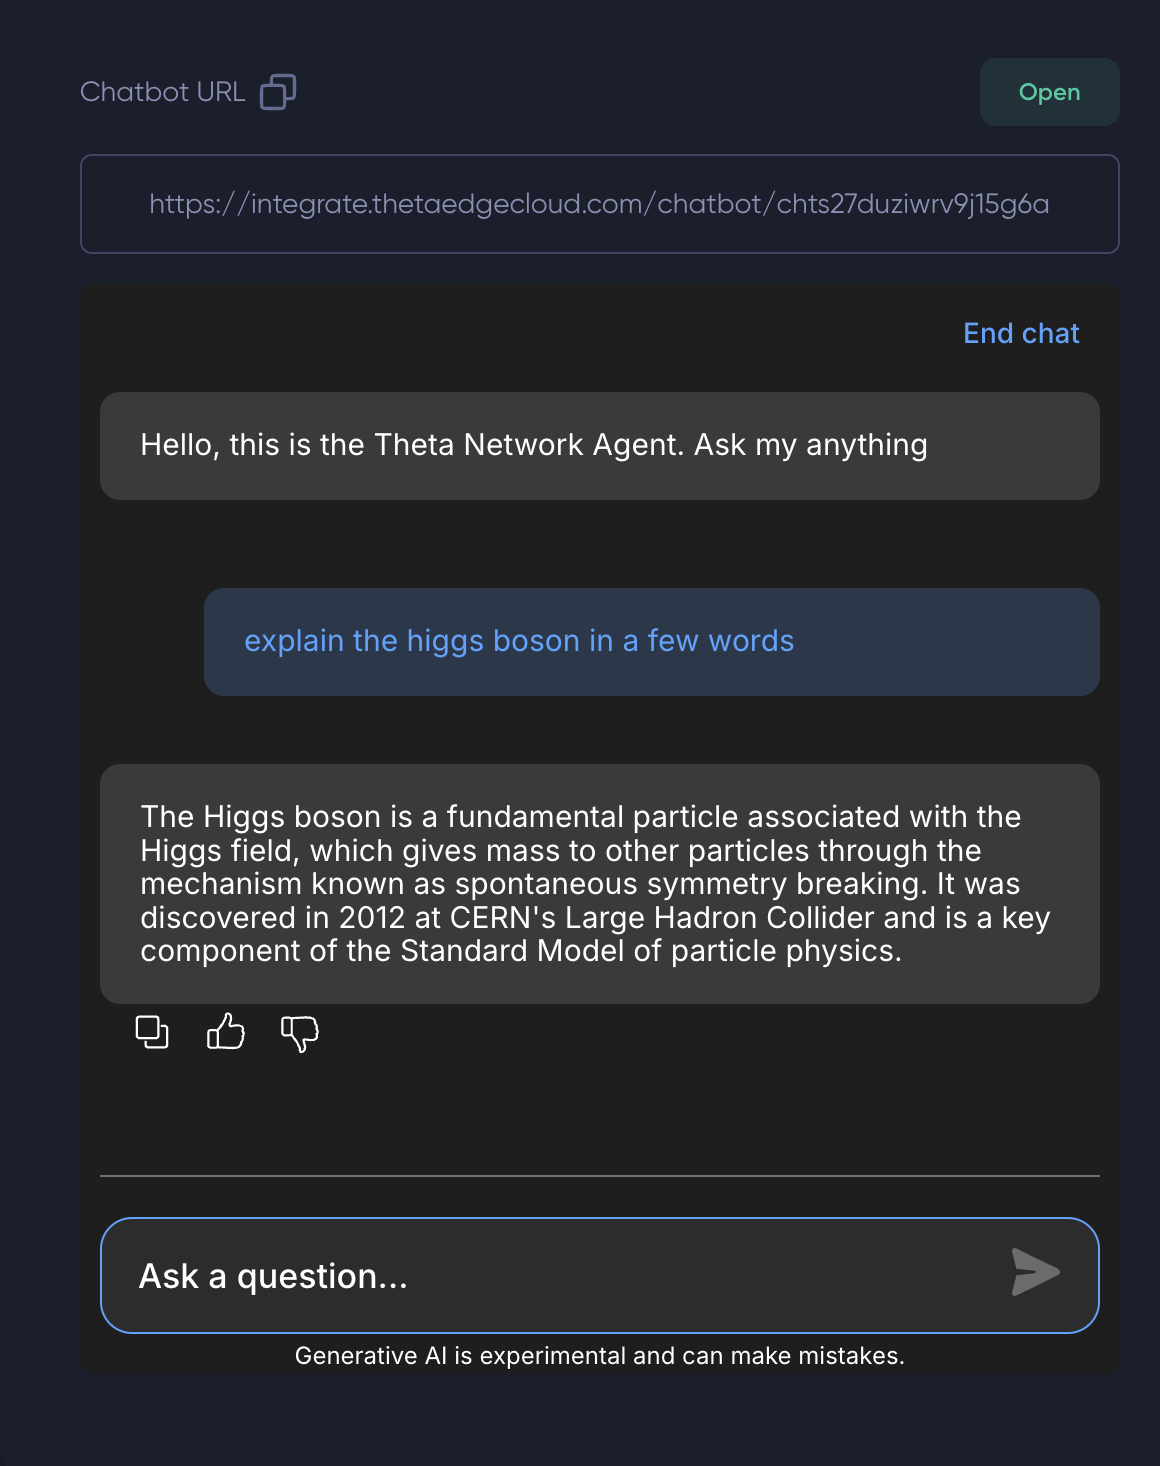
After making changes, please click the "Update" button at the bottom of the "Settings" tab to save the changes. Next, go back to the "Playground" tab, you should see the chatbot UI has been updated accordingly. For example, the chatbot now has an icon as its avatar, and displays a welcome message as we set earlier. At the bottom of chatbot box, you can also find the preset questions. Click on any of these preset questions and see whether the chatbot can correctly answer based on the documents uploaded to the knowledge base!
Next, let's Integrate the AI Agent with Your Apps!
.png")
Updated 5 months ago