AI Prototyping with Jupyter Notebook
Theta EdgeCloud provides useful tools for AI prototyping such as Jupyter Notebook. A Jupyter Notebook is an open-source web application that allows you to create and share documents that contain live code, equations, visualizations, and narrative text. Jupyter Notebooks are widely used in data science, scientific computing, and machine learning, making it an invaluable tool in the development and testing of AI models. There are various great online tutorials if you want to learn more about Jupyter Notebook, for example this video guide .
Launching a Jupyter Notebook in EdgeCloud
First navigate to the "Jupyter Notebook" page, which can be assessed by simply clicking on the "AI" icon on the left bar, and then click on the "Jupyter notebook" tab.
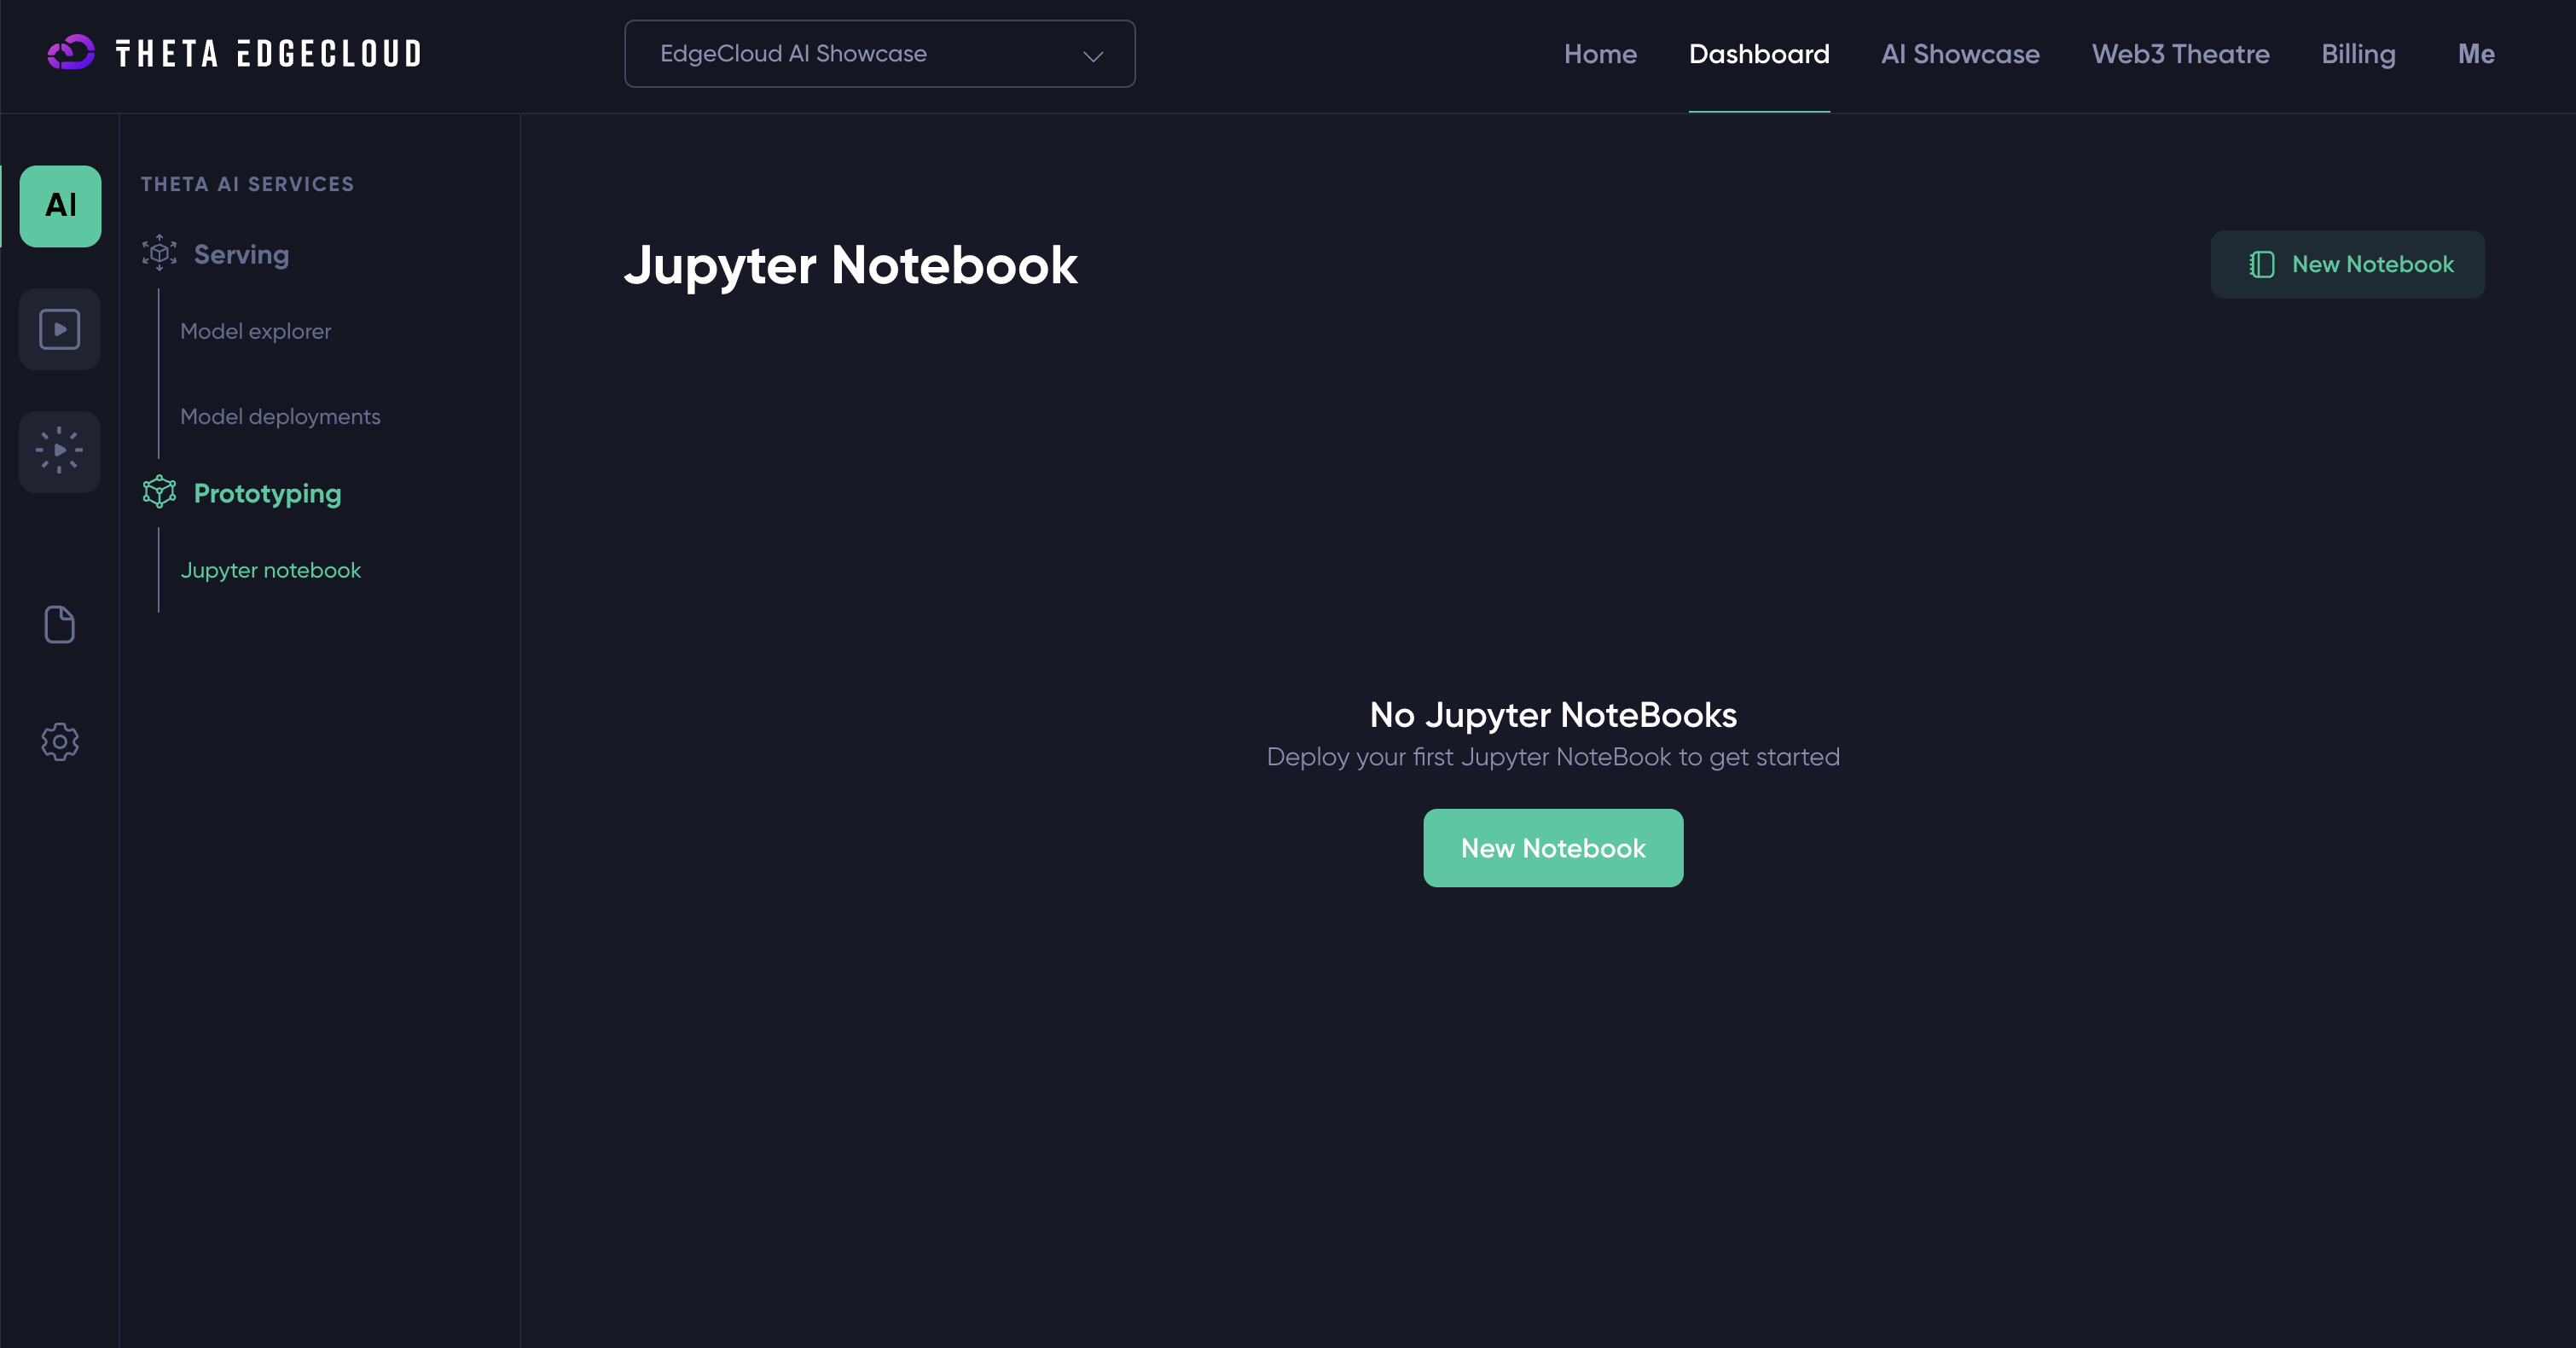
Then, click either the "New Notebook" button (either the one at the center of the page, or the one at the top-right corner). You should see a popup similar to the screenshot below. We have provided different container images for the Jupyter notebook, including one fully supports PyTorch with CUDA. If you choose this image, please make sure to select a VM with GPU from the the "VM type" drop-down menu, e.g. GT1 which equips with an Nvidia T4 GPU.
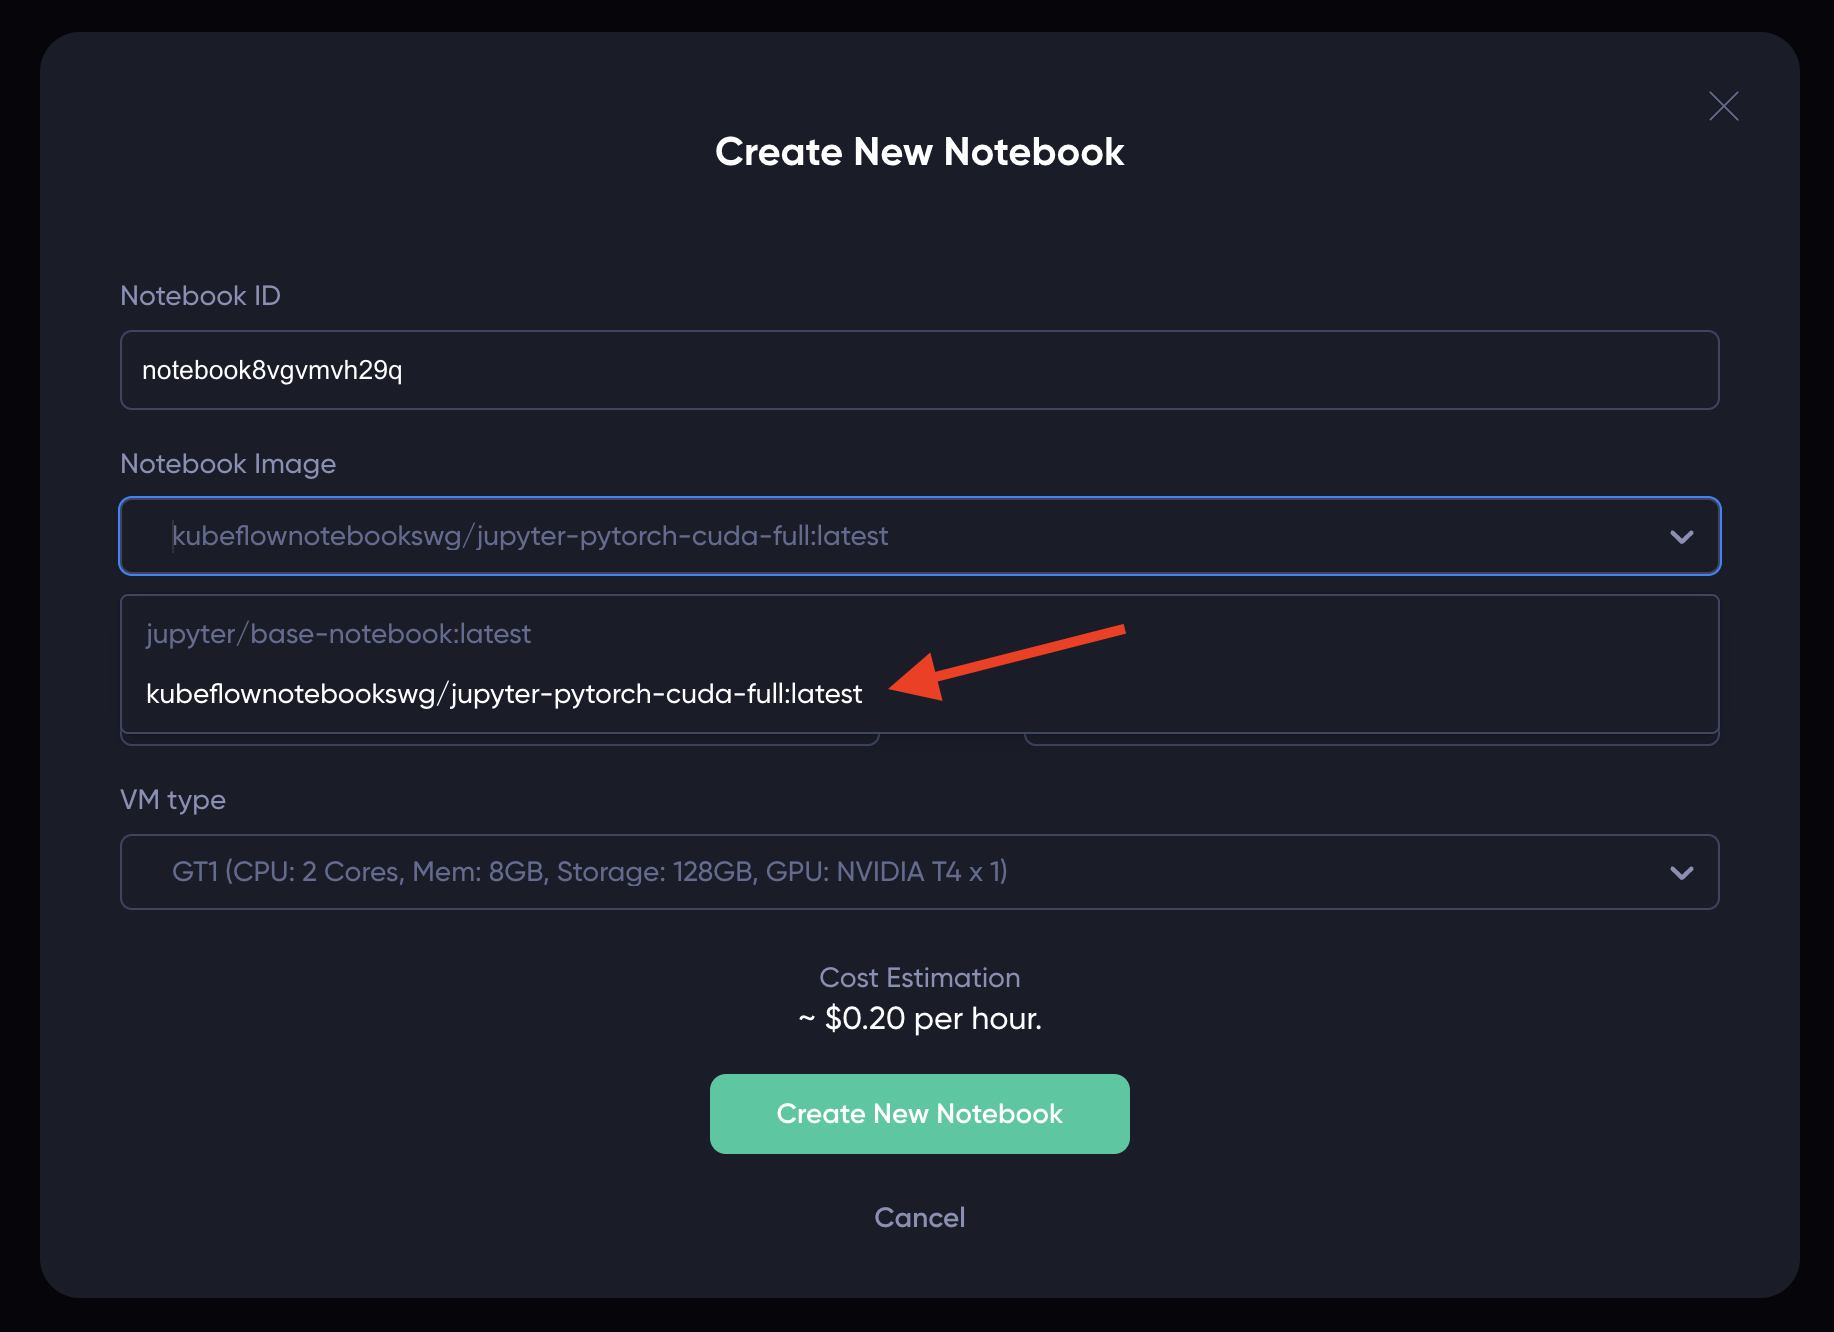
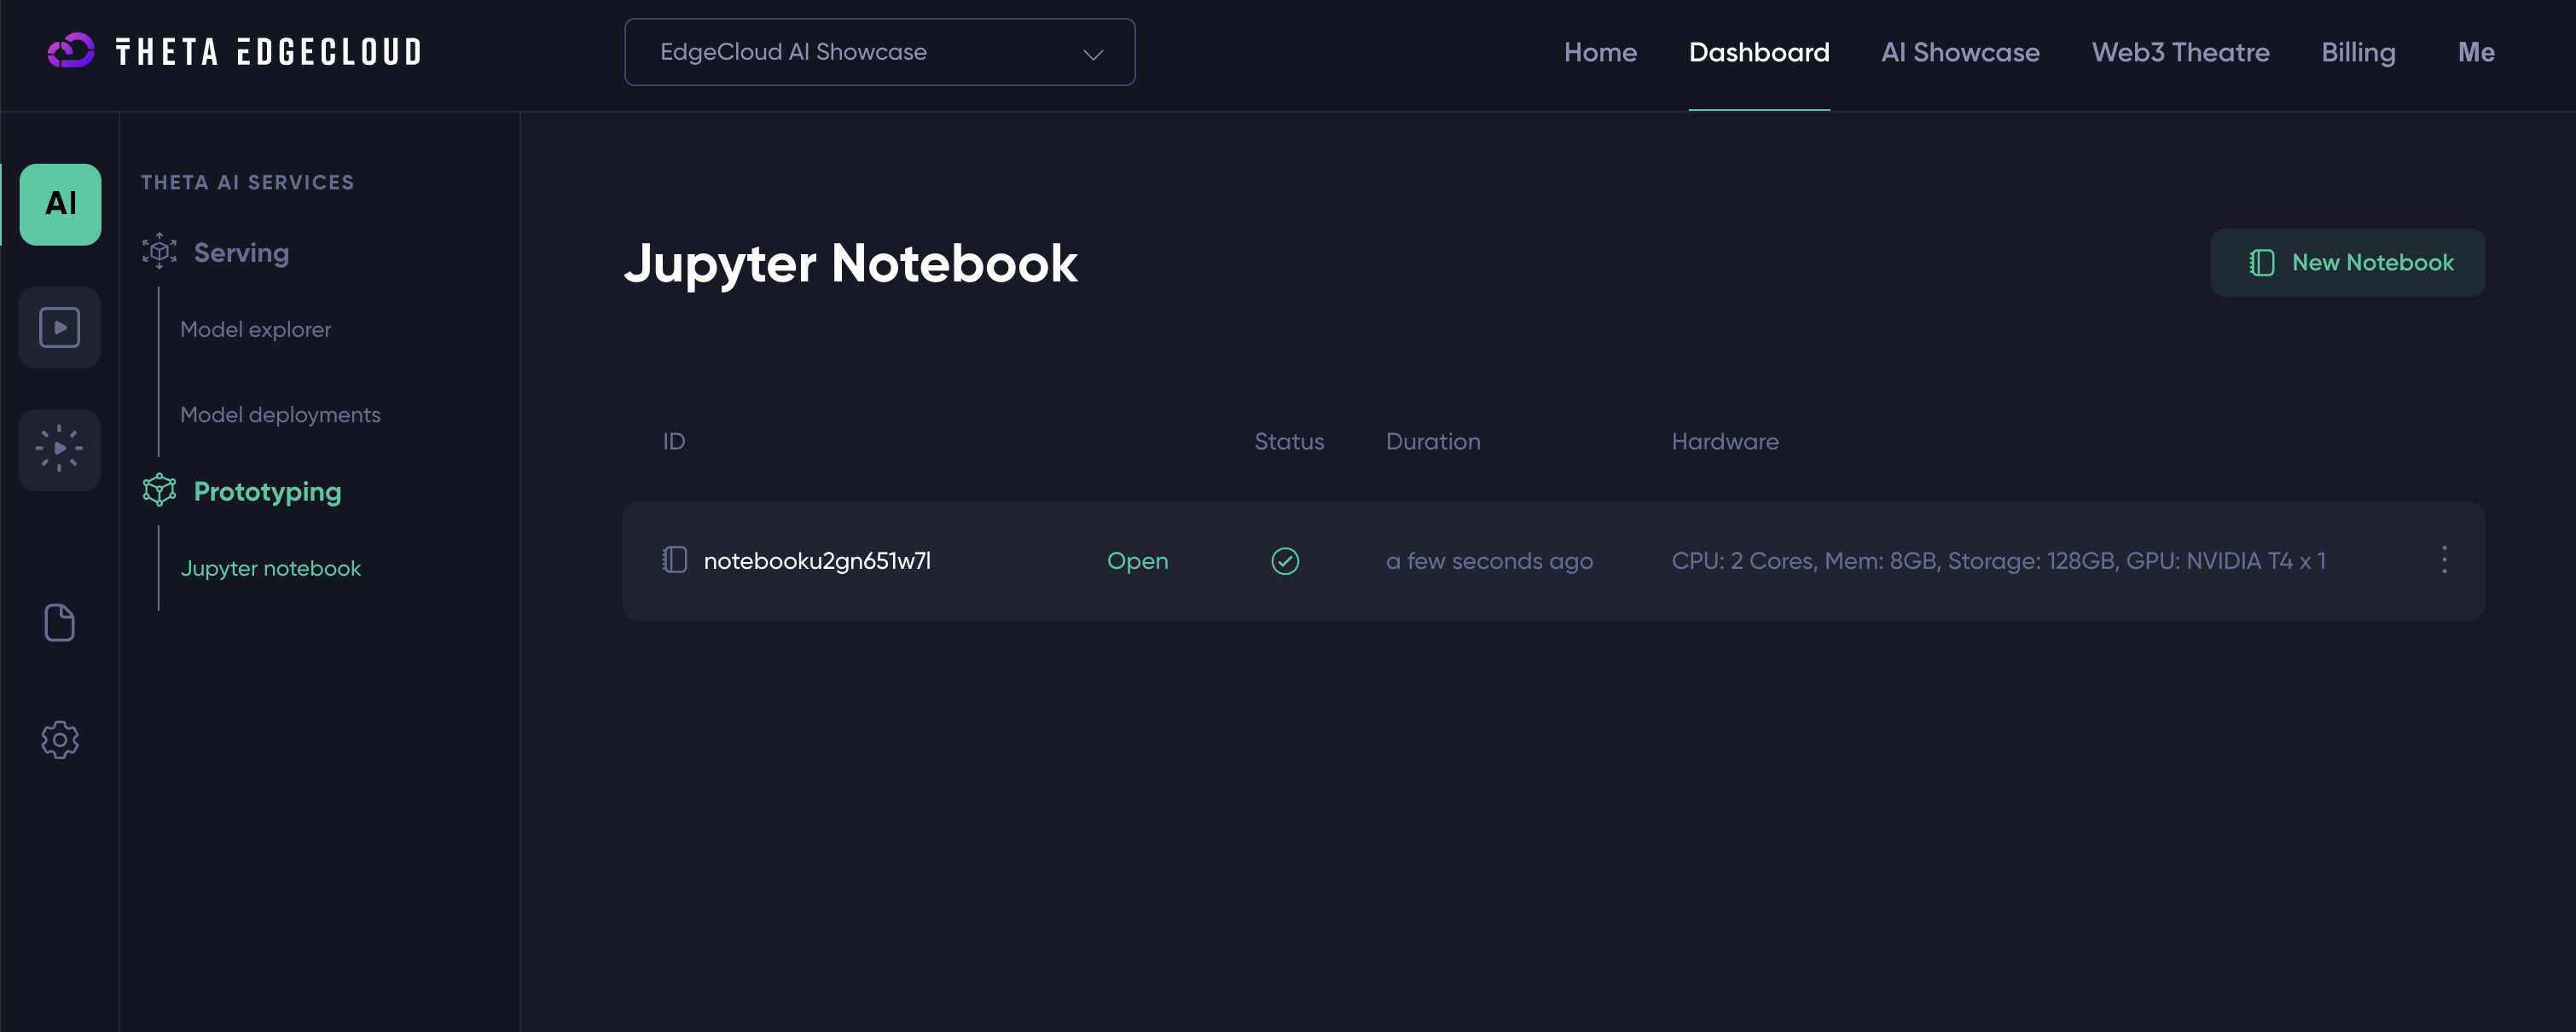
Next, click on "Create New Notebook" to deploy the selected notebook container. You should see a new notebook on the page:
Using the Jupyter Notebook Hosted in EdgeCloud
Once the "Open" button turns green, you can click on it to open the notebook in a new browser tab:
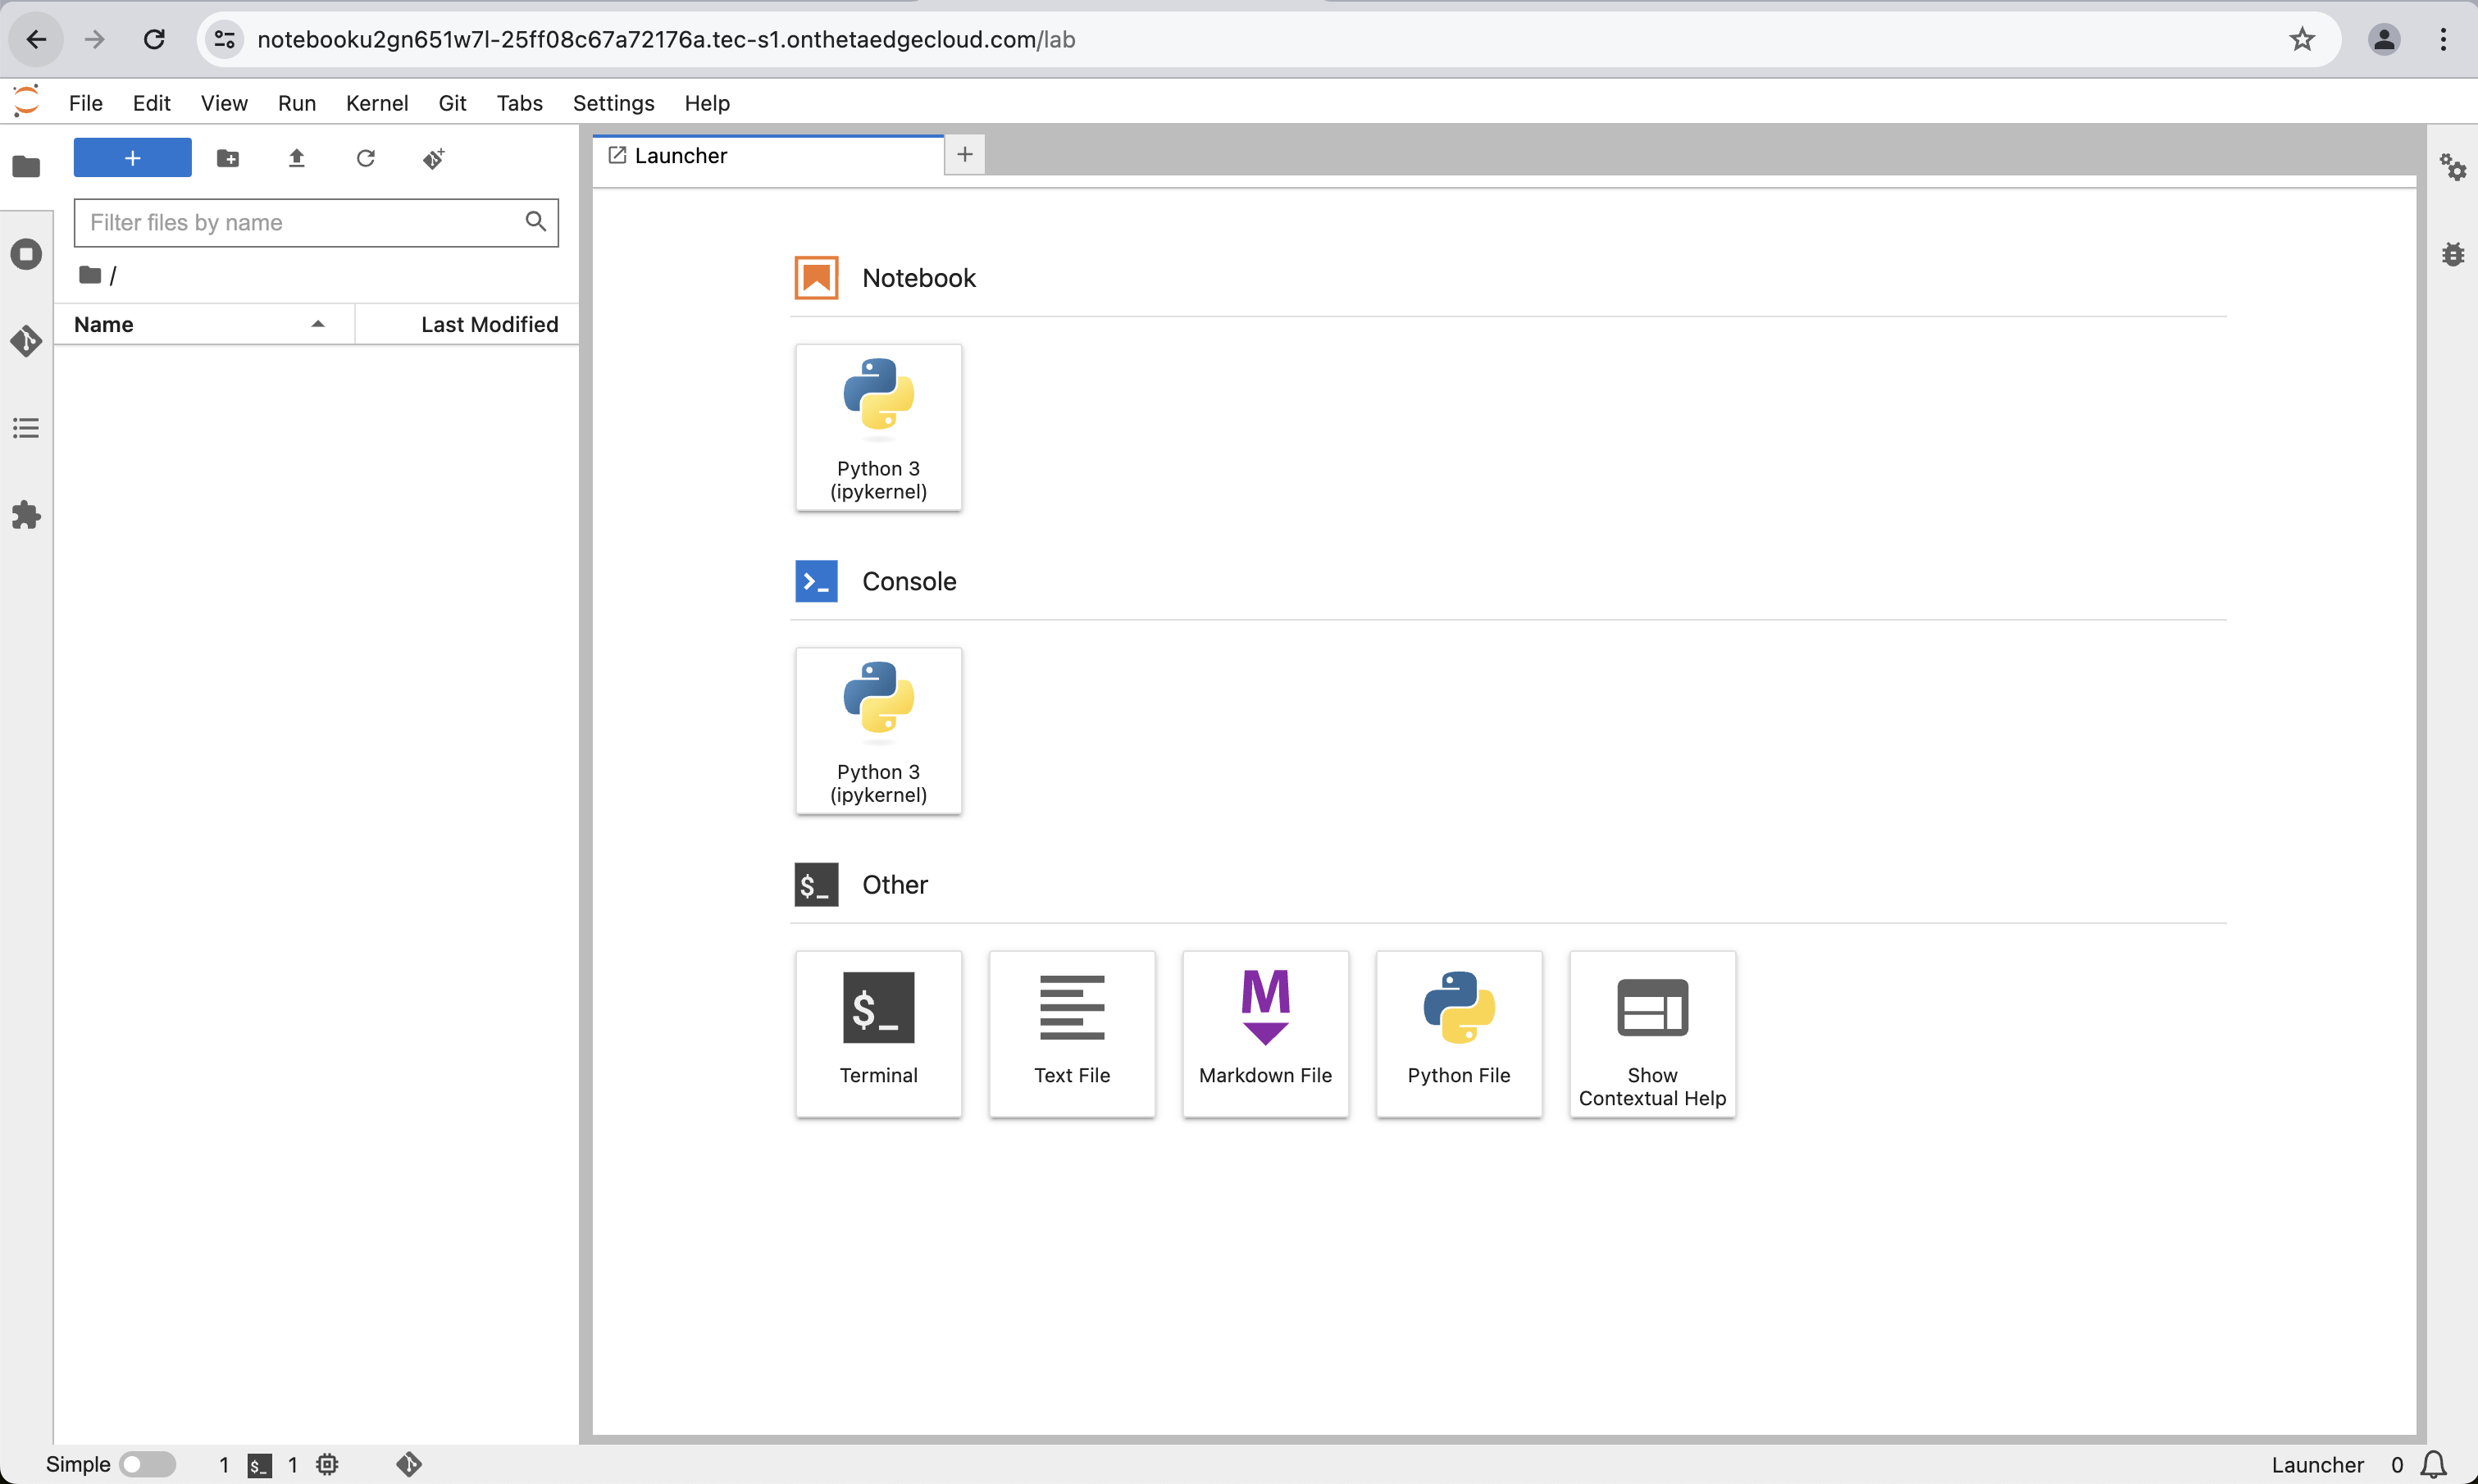
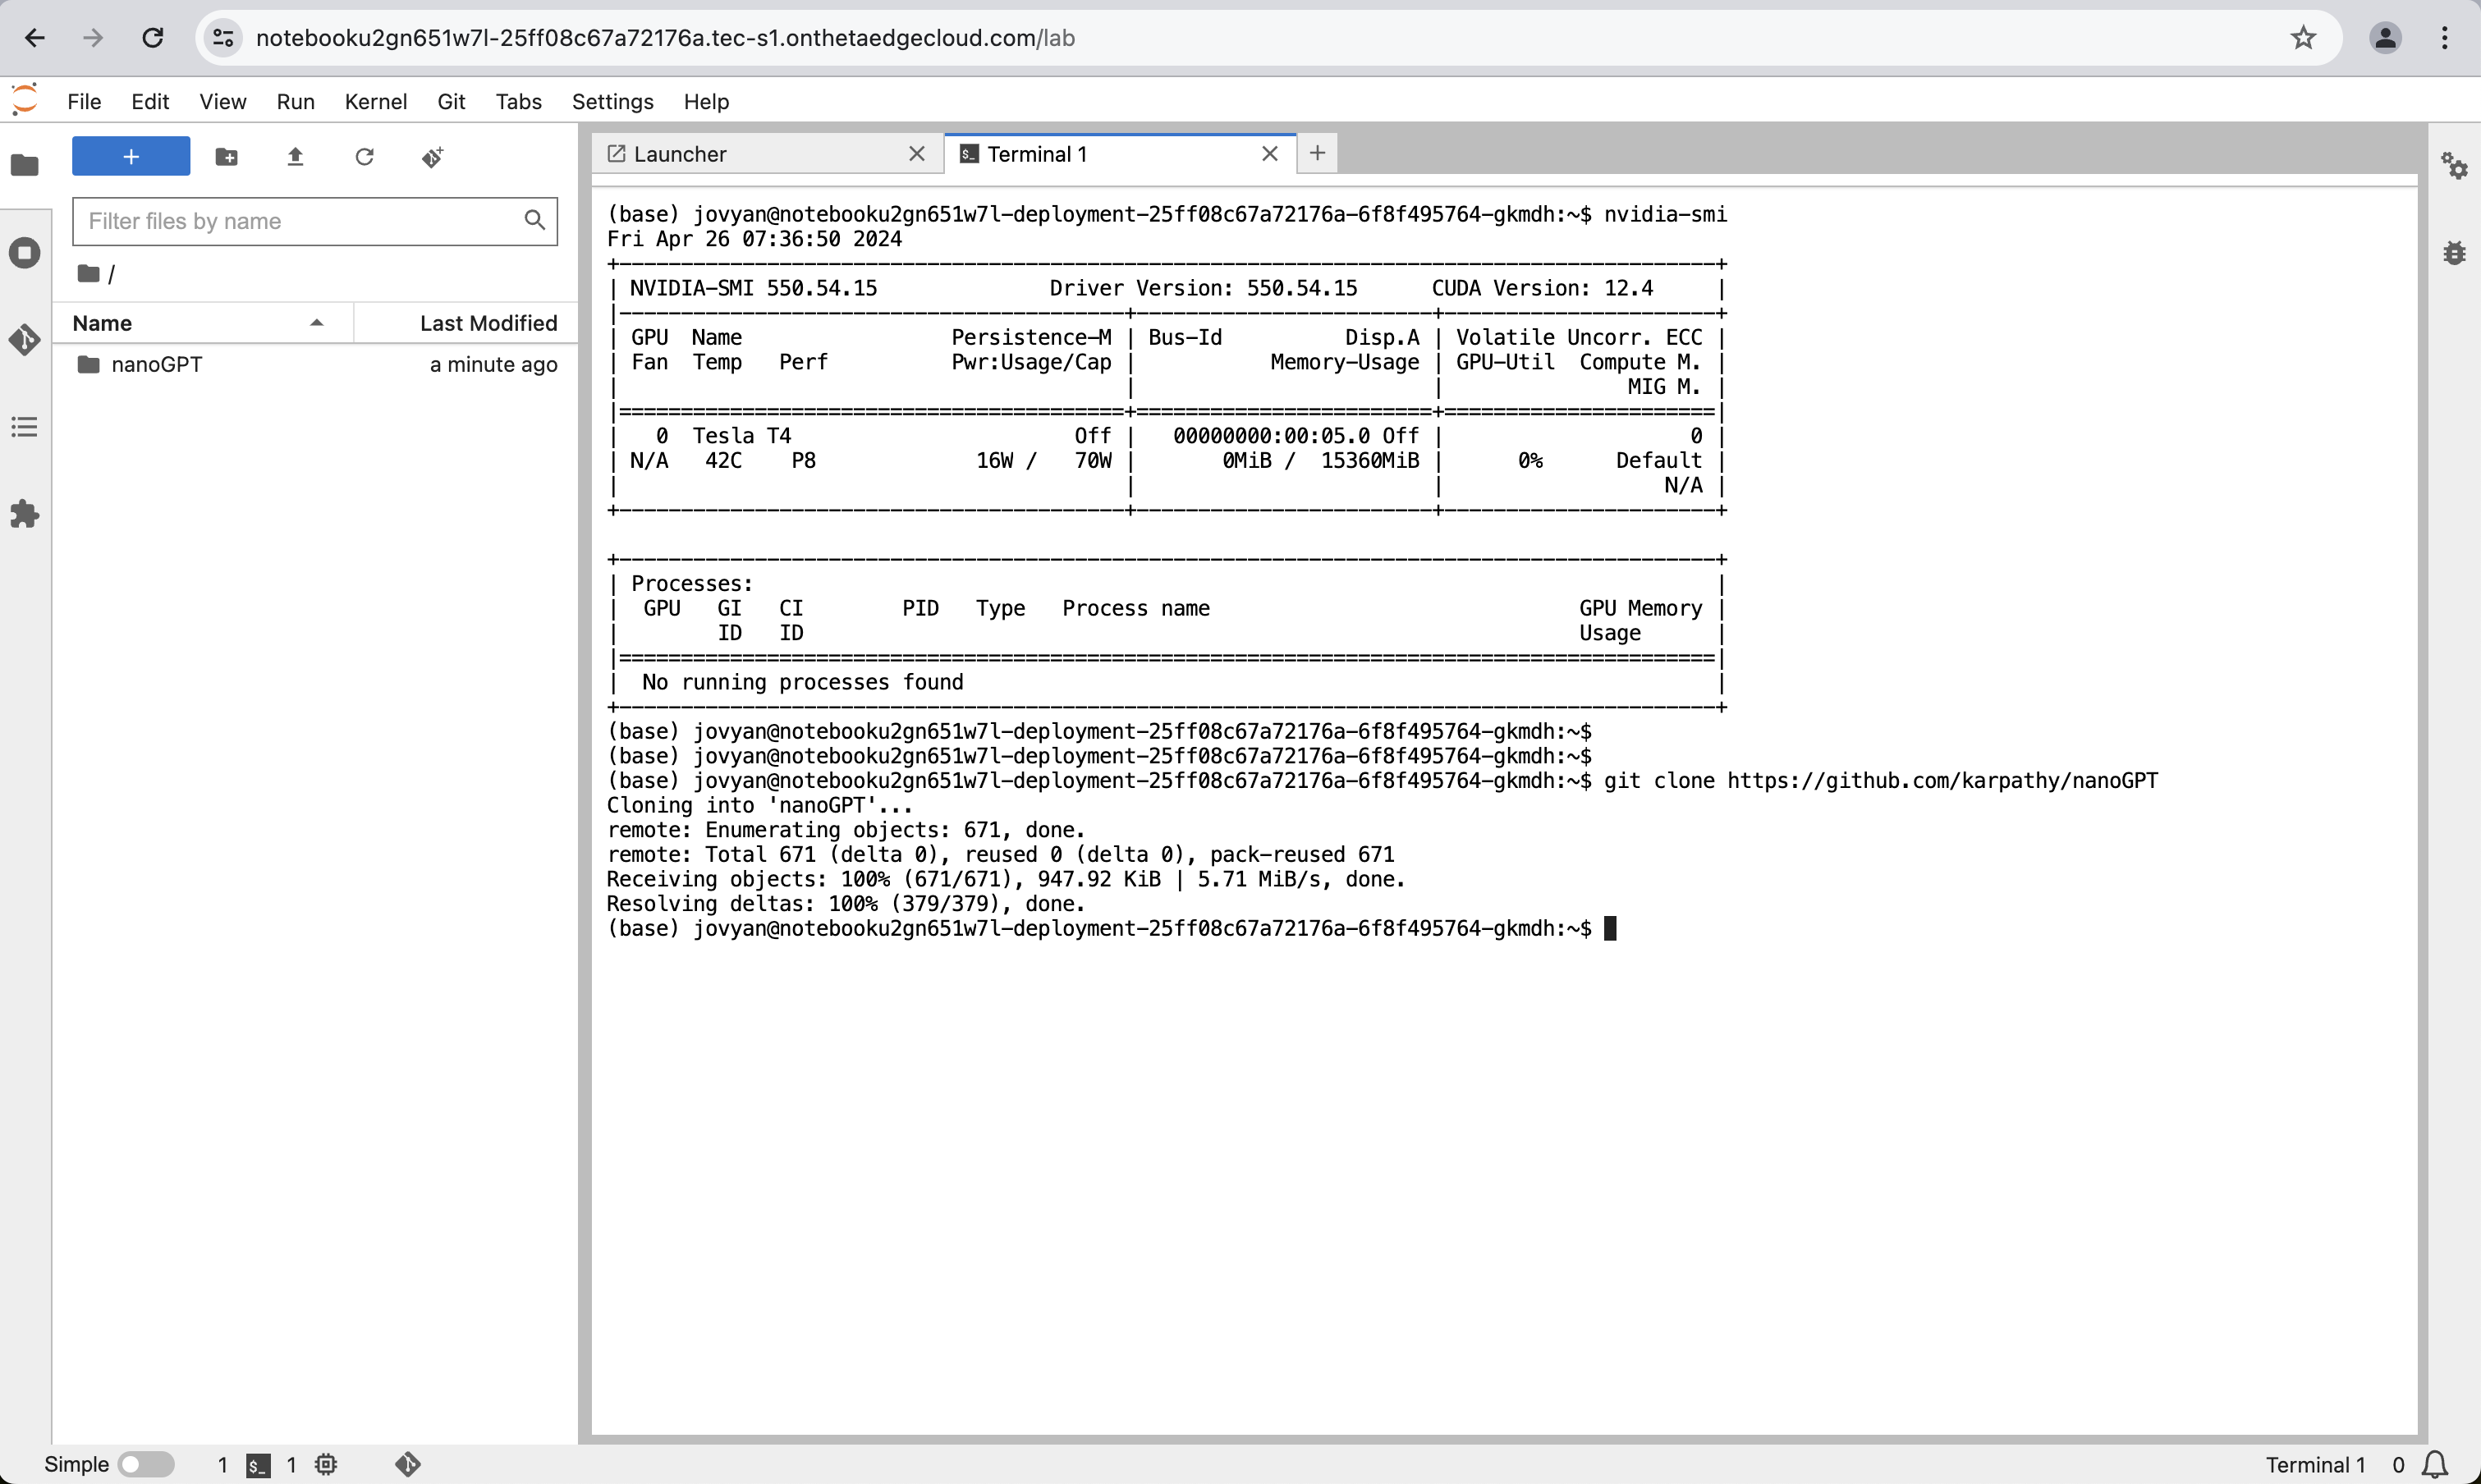
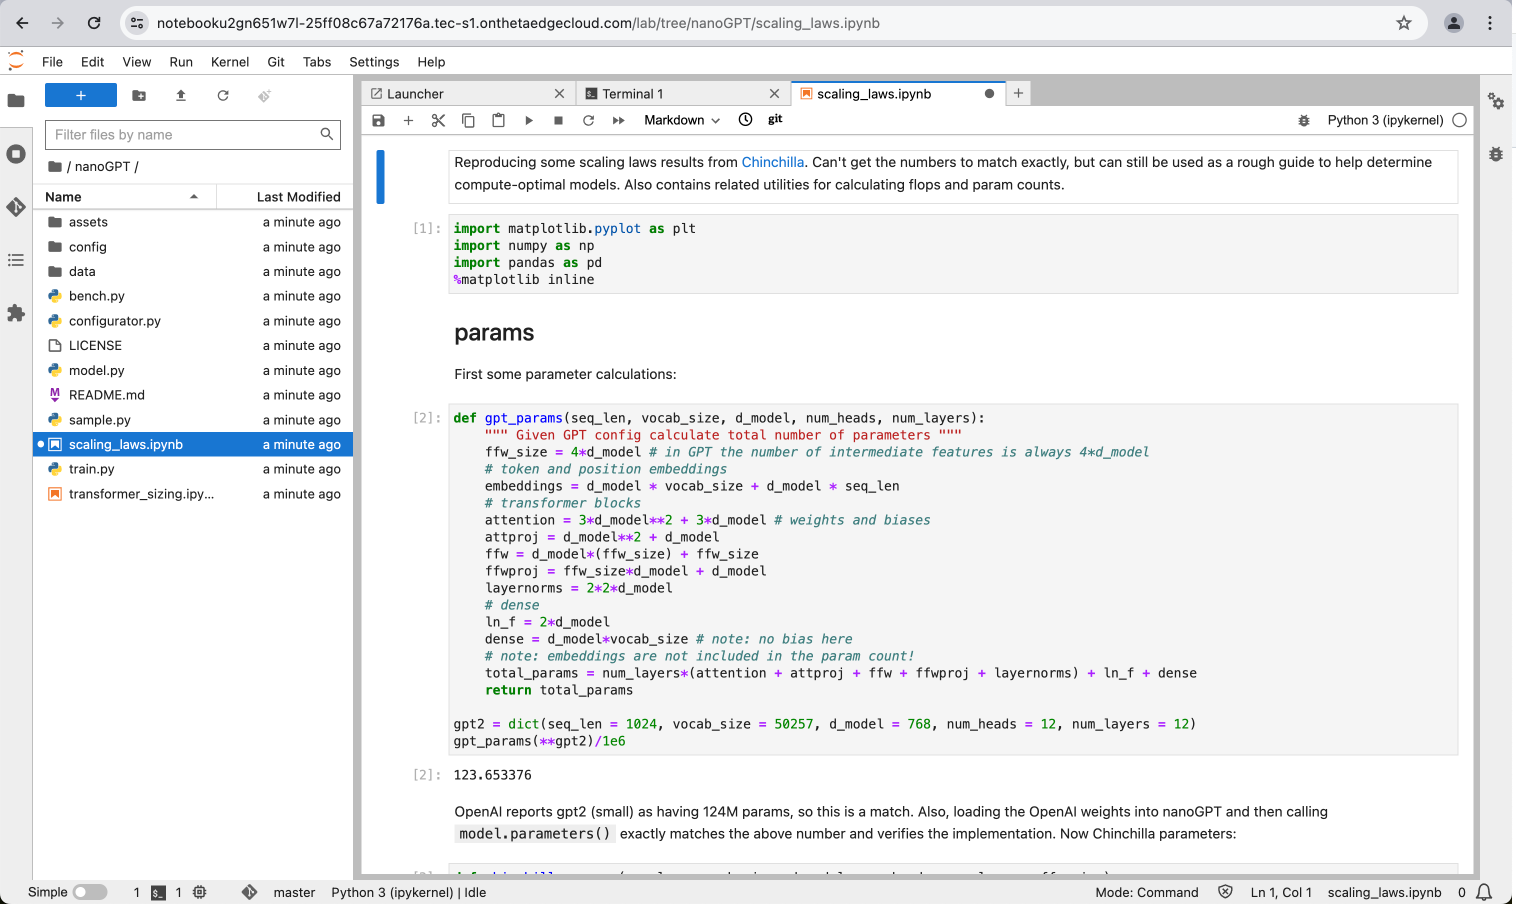
As shown in the screenshot, the page provides various tools such interactive Python3 notebook. You can also start a terminal session by clicking on the "Terminal" icon. There, you can run the nvidia-smi command to print the GPU info. Or you might want to use git to pull your favorite repo, for example, https://github.com/karpathy/nanoGPT authored by Andrej Karpathy. From there, you run the python scripts and/or ipynb notebooks as you would on a remote VM.
Updated 20 days ago
